Cookie Cats
from Steven Universe
A little something cool for summer!
For the cookie layer:
- 1 cup all-purpose flour (5 oz)
- 1/2 cup cocoa powder (1.5 oz)
- 1/4 teaspoon salt
- 1/8 teaspoon baking soda
- 2 large eggs
- 2/3 cup sugar (4.75 oz)
- 1/4 cup chocolate syrup (or if you forgot to get this like I did, 1/4 cup corn syrup with a little cocoa powder mixed into it!)
- 8 tablespoons butter (1 stick), melted
For the ice cream layer:
- 1 pint container of vanilla (or any white) ice cream
- 1 pint container of strawberry (or any pink) ice cream

Make the cookie layer
Adjust oven rack to middle position and heat oven to 350 degrees. Spray a standard 17”x12” cookie sheet with sides (sometimes called a jellyroll pan or a half-sheet pan) with nonstick cooking spray and line the bottom with parchment.
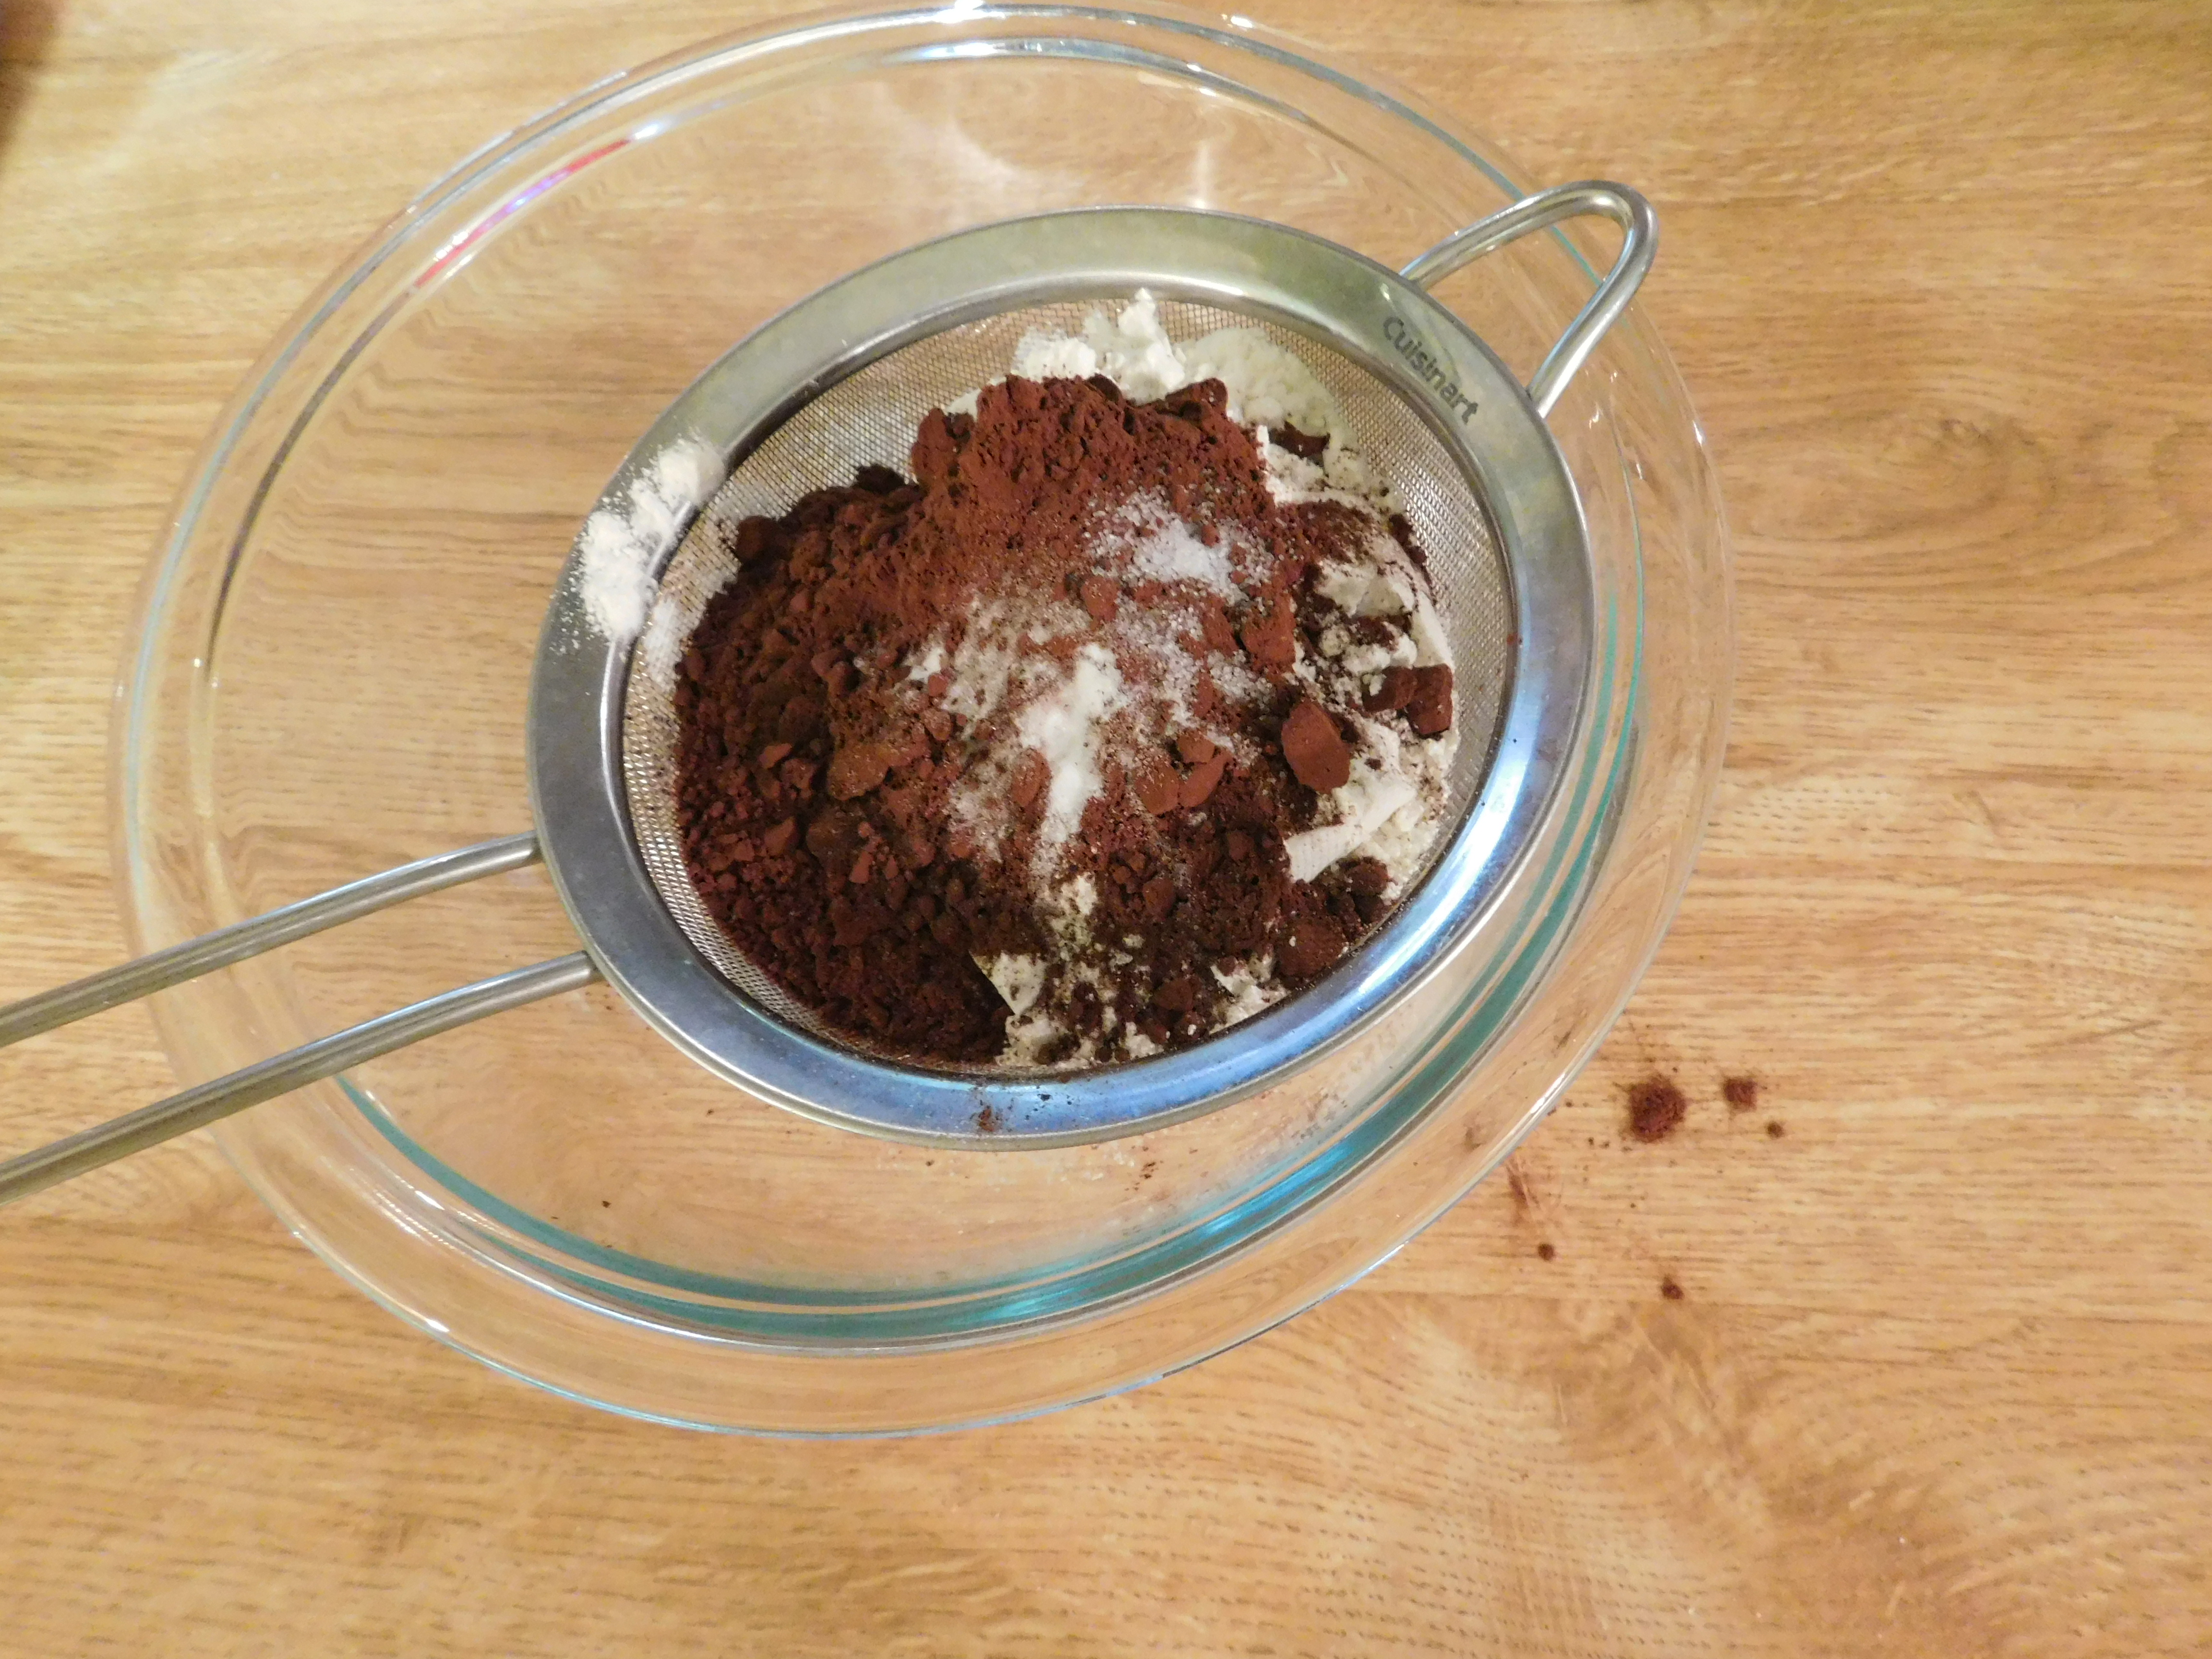
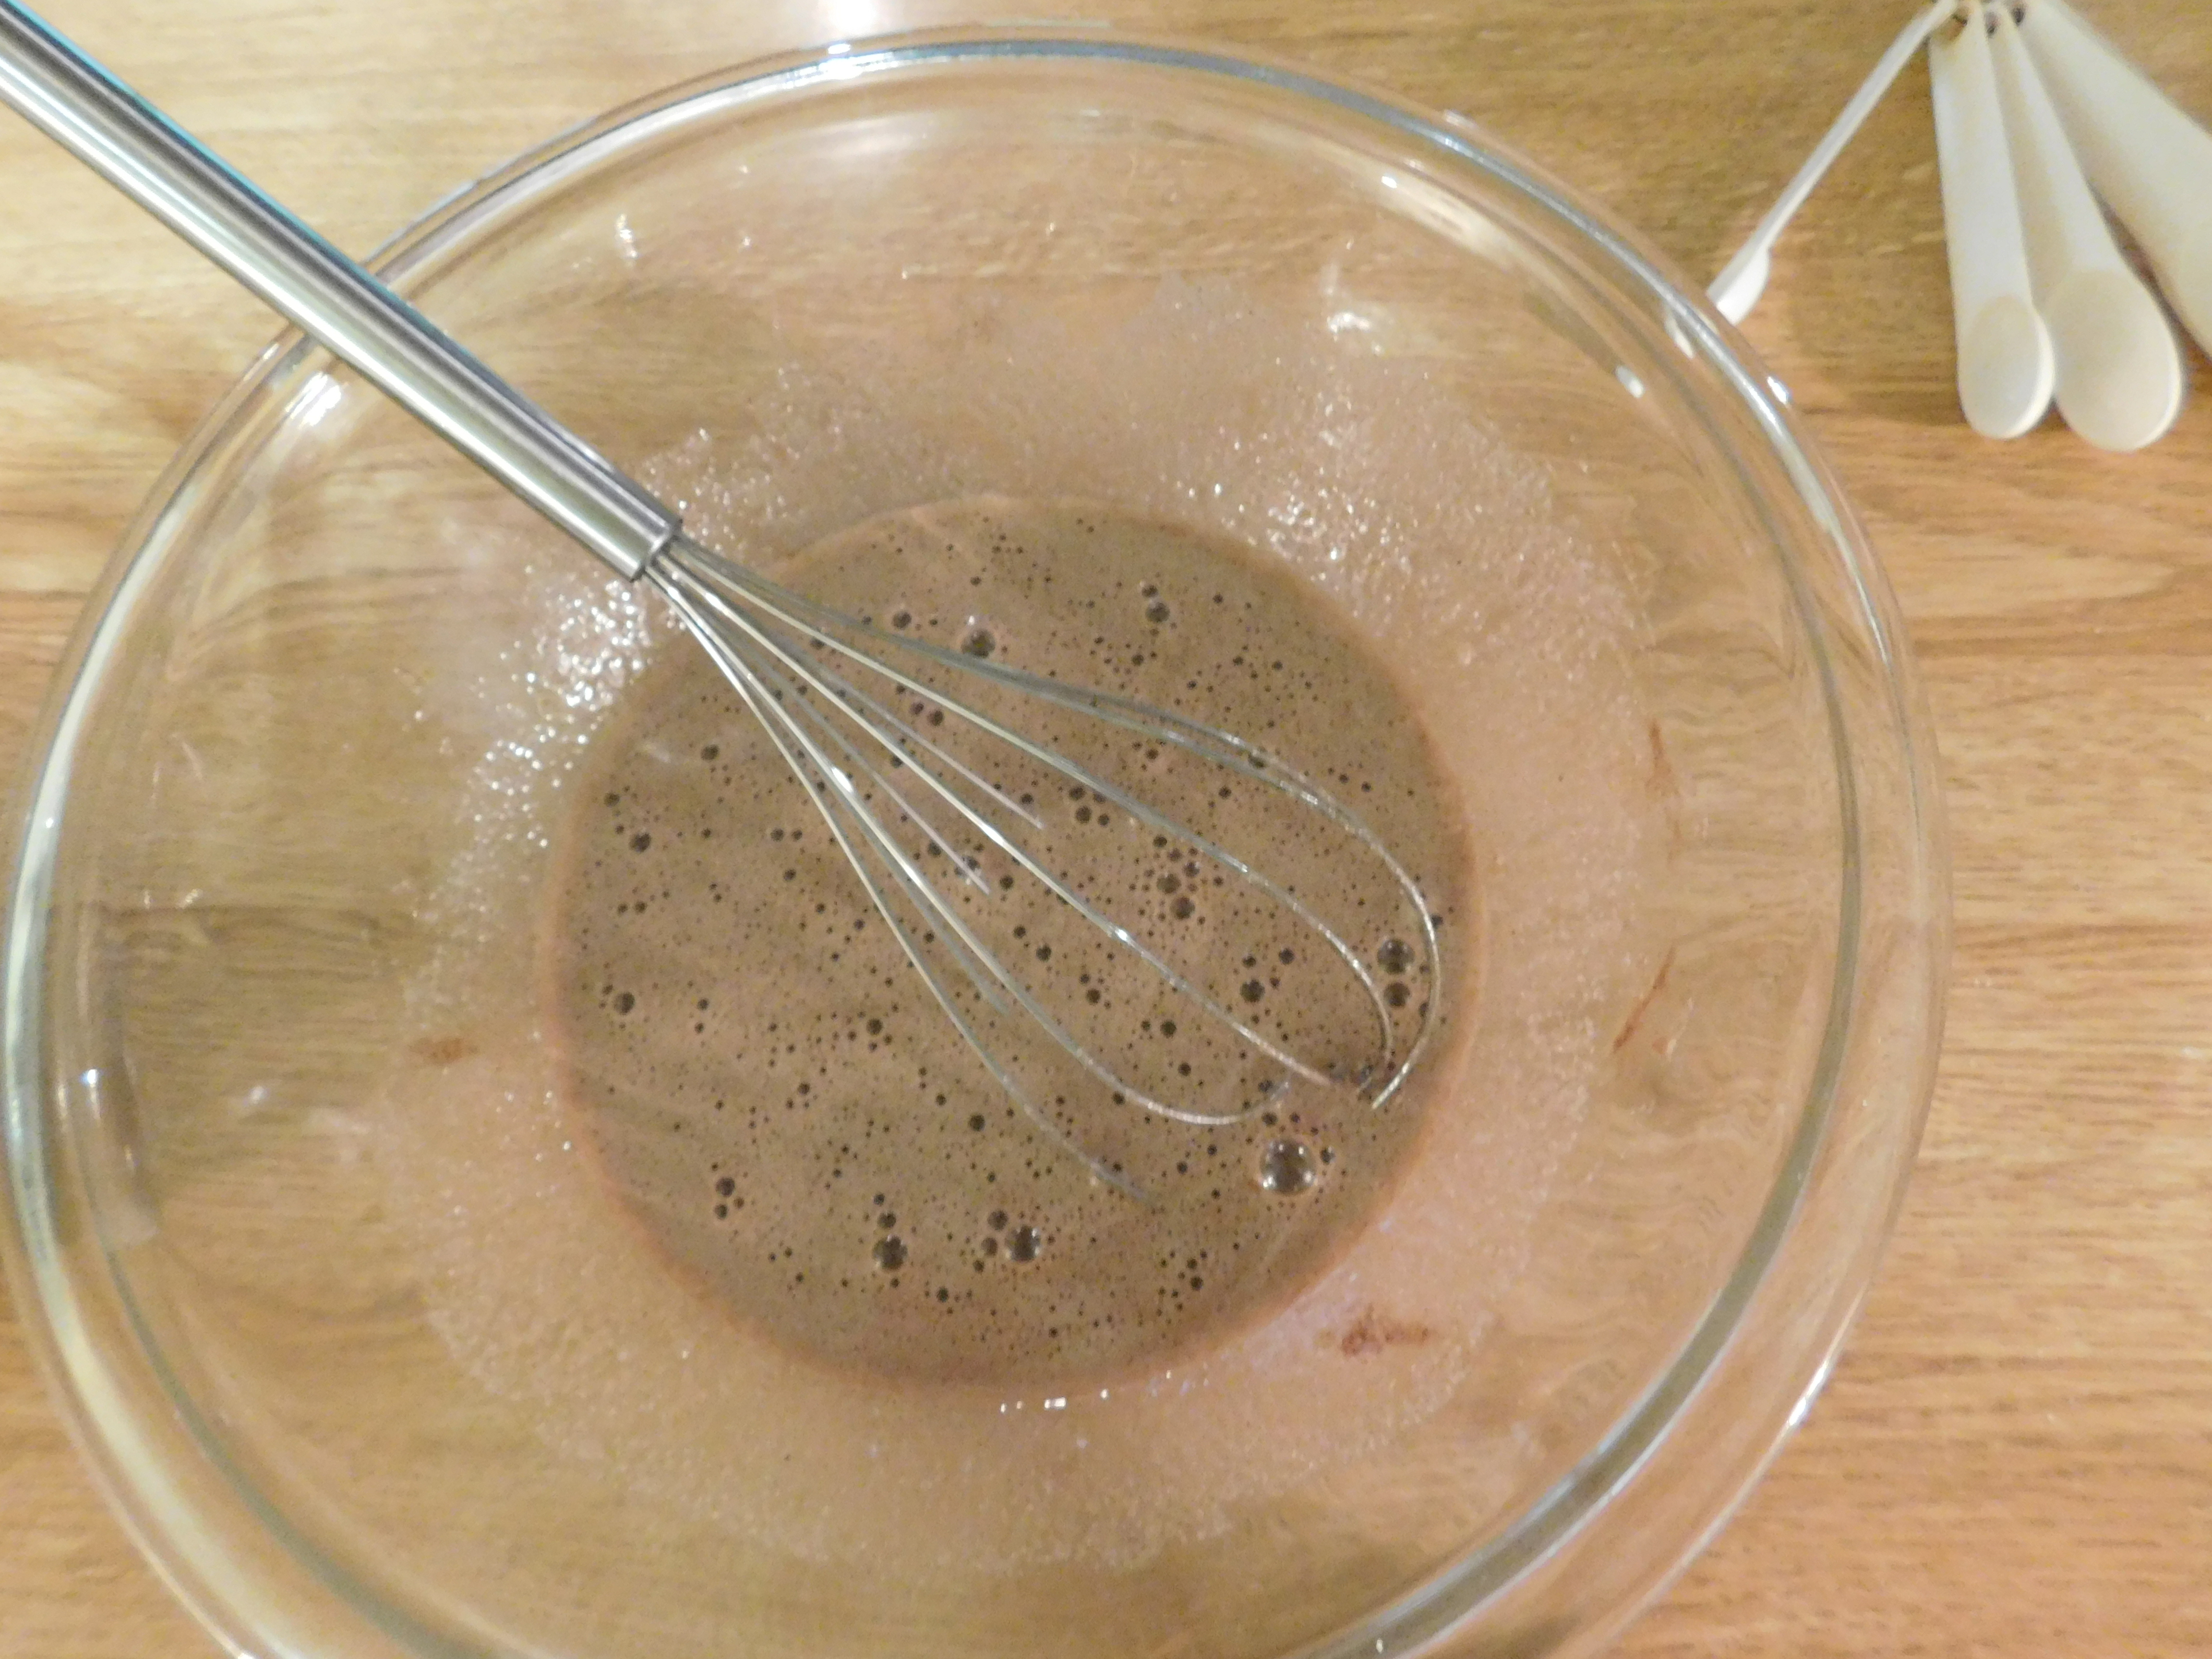
Sift flour, cocoa, salt, and baking soda into a medium bowl. Beat eggs, sugar and chocolate syrup in a large bowl until light brown. Add melted butter and whisk until fully incorporated.
Add dry ingredients to the egg mixture. With a rubber spatula, slowly incorporate the dry ingredients into the wet; stir just until no dry streaks remain. Pour batter into prepared baking sheet; using a spatula spread batter to an even thickness.

Bake until cookie springs back when touched, 10 to 12 minutes. Cool in the pan for 5 minutes, then run a butter knife around the edges to loosen the cookie. Put a large cutting board over the pan and flip it, removing the pan (or flip the cookie carefully out onto a clean countertop). Cool completely, about half an hour.
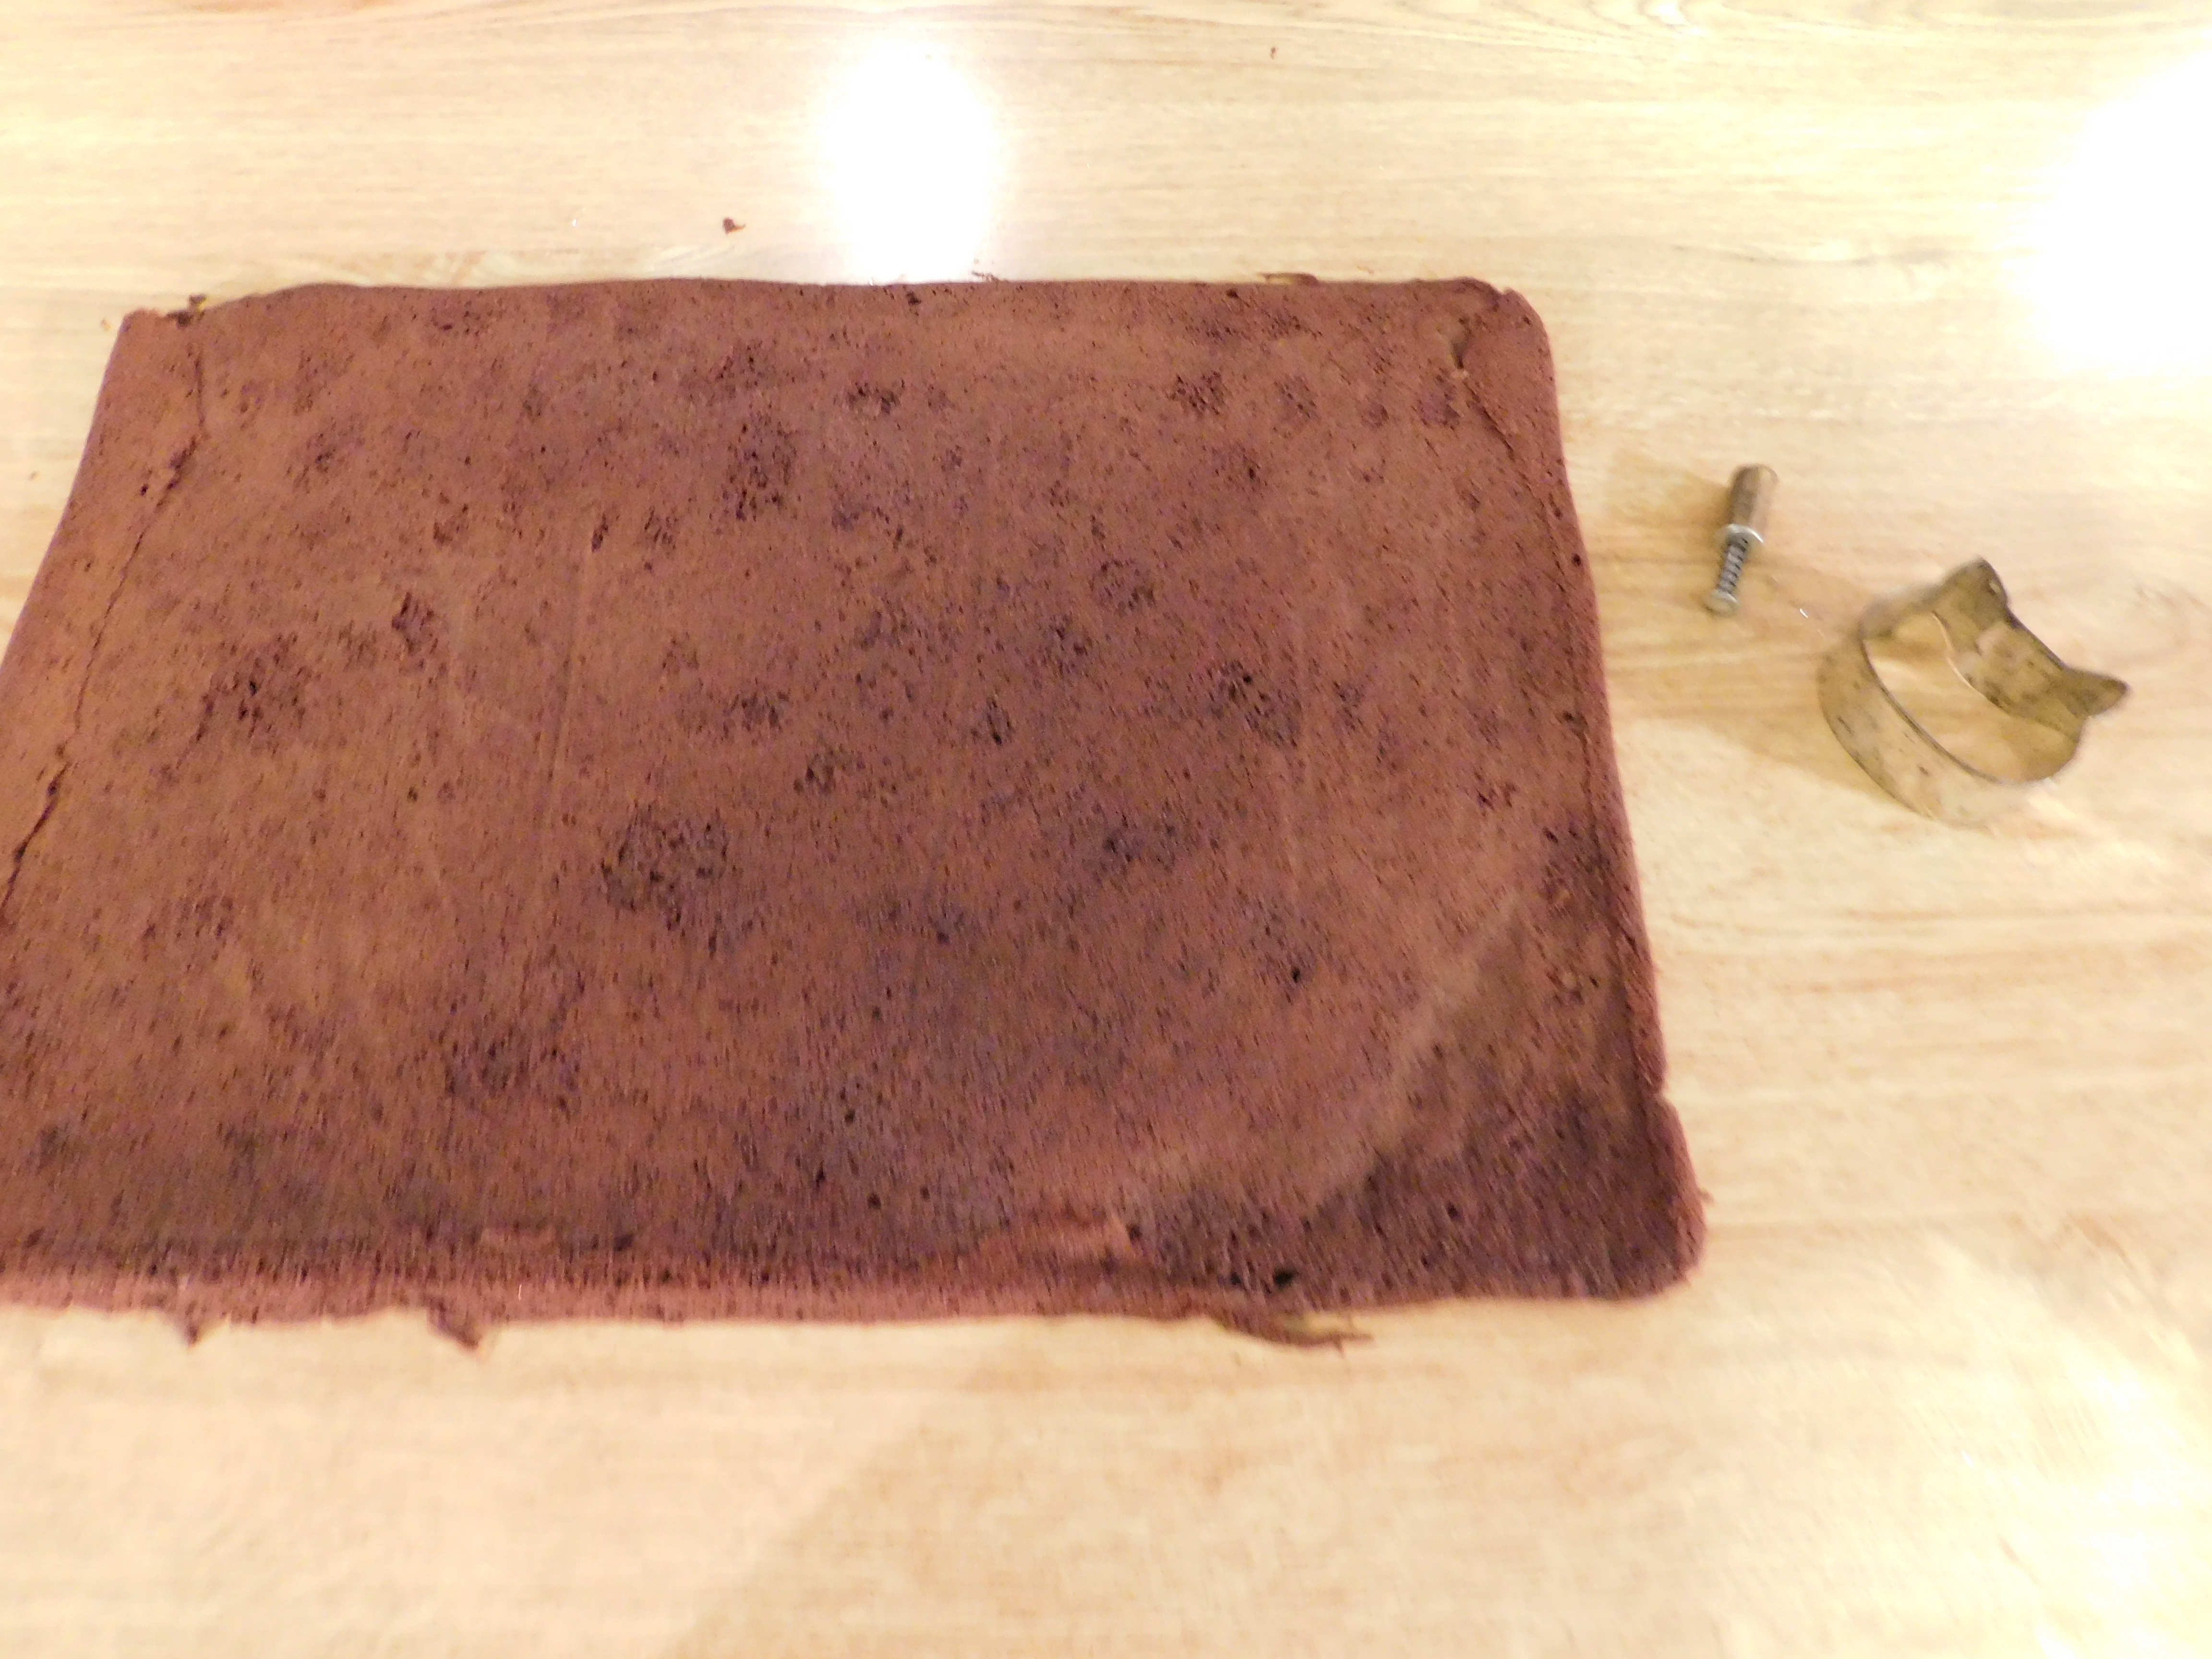
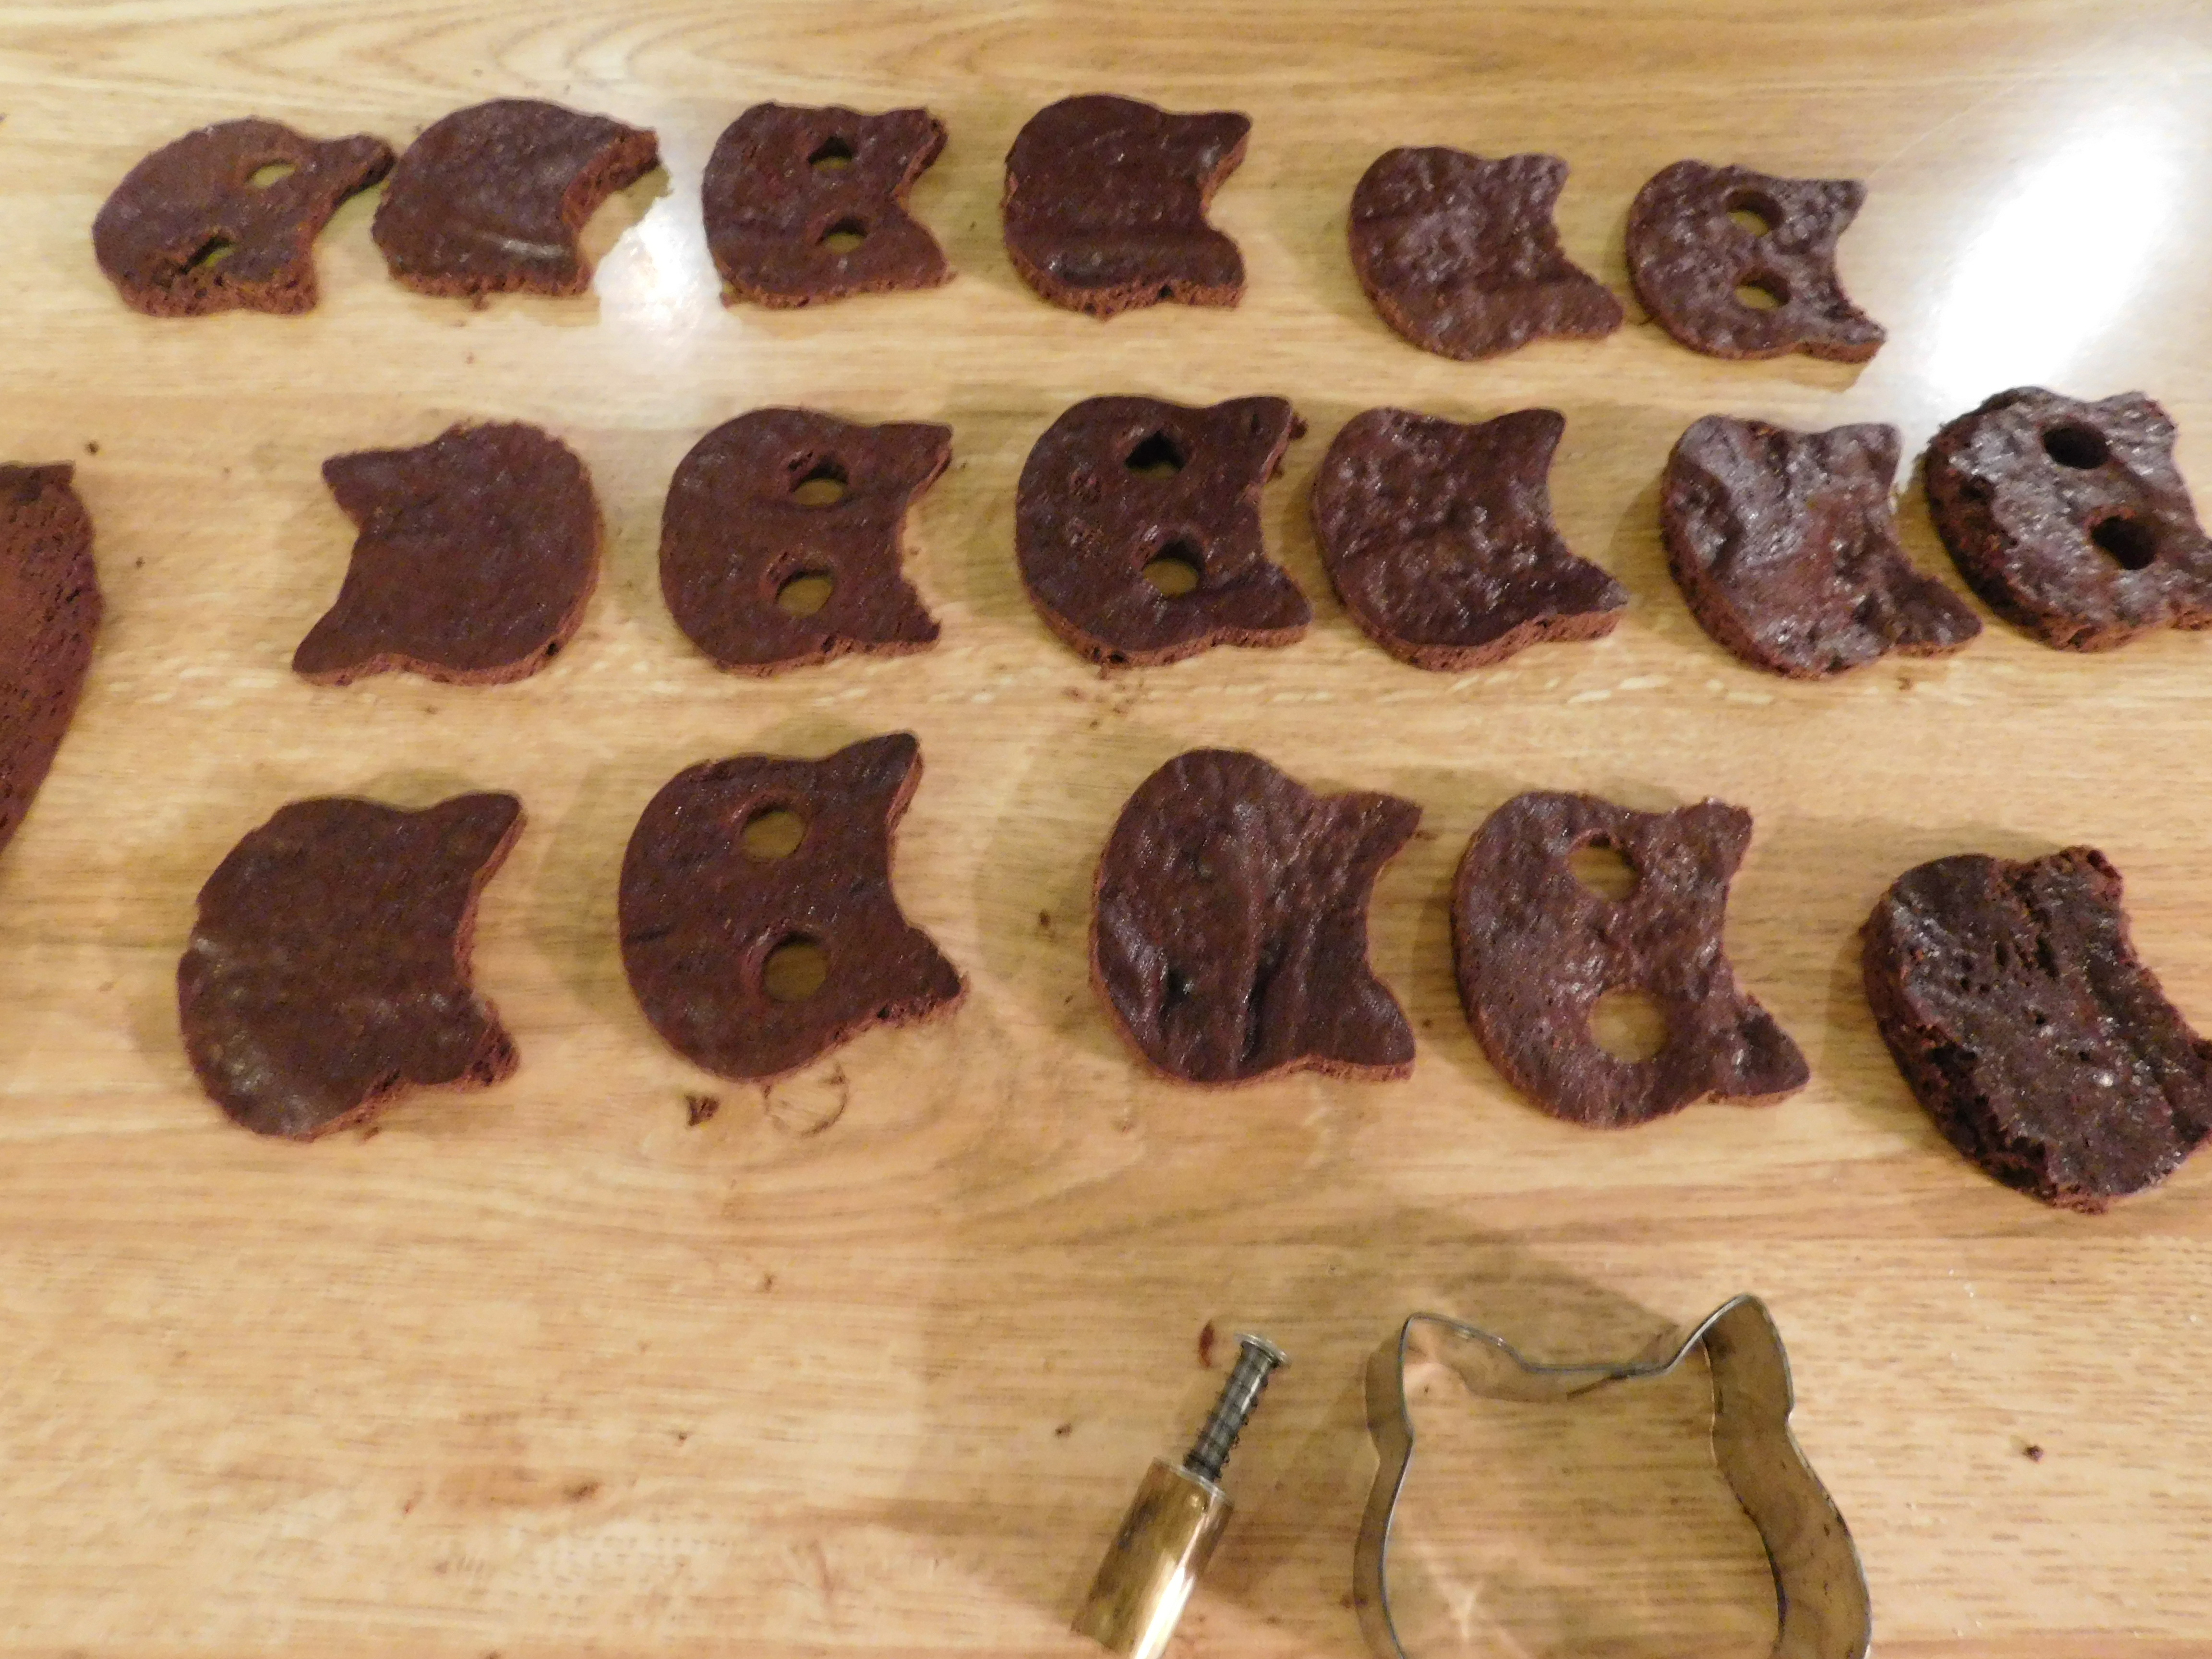
Cut out your cats, 8 as just cat shapes and another 8 with eyes cut out as well. Put them on a plate in the freezer to make them easier to handle.
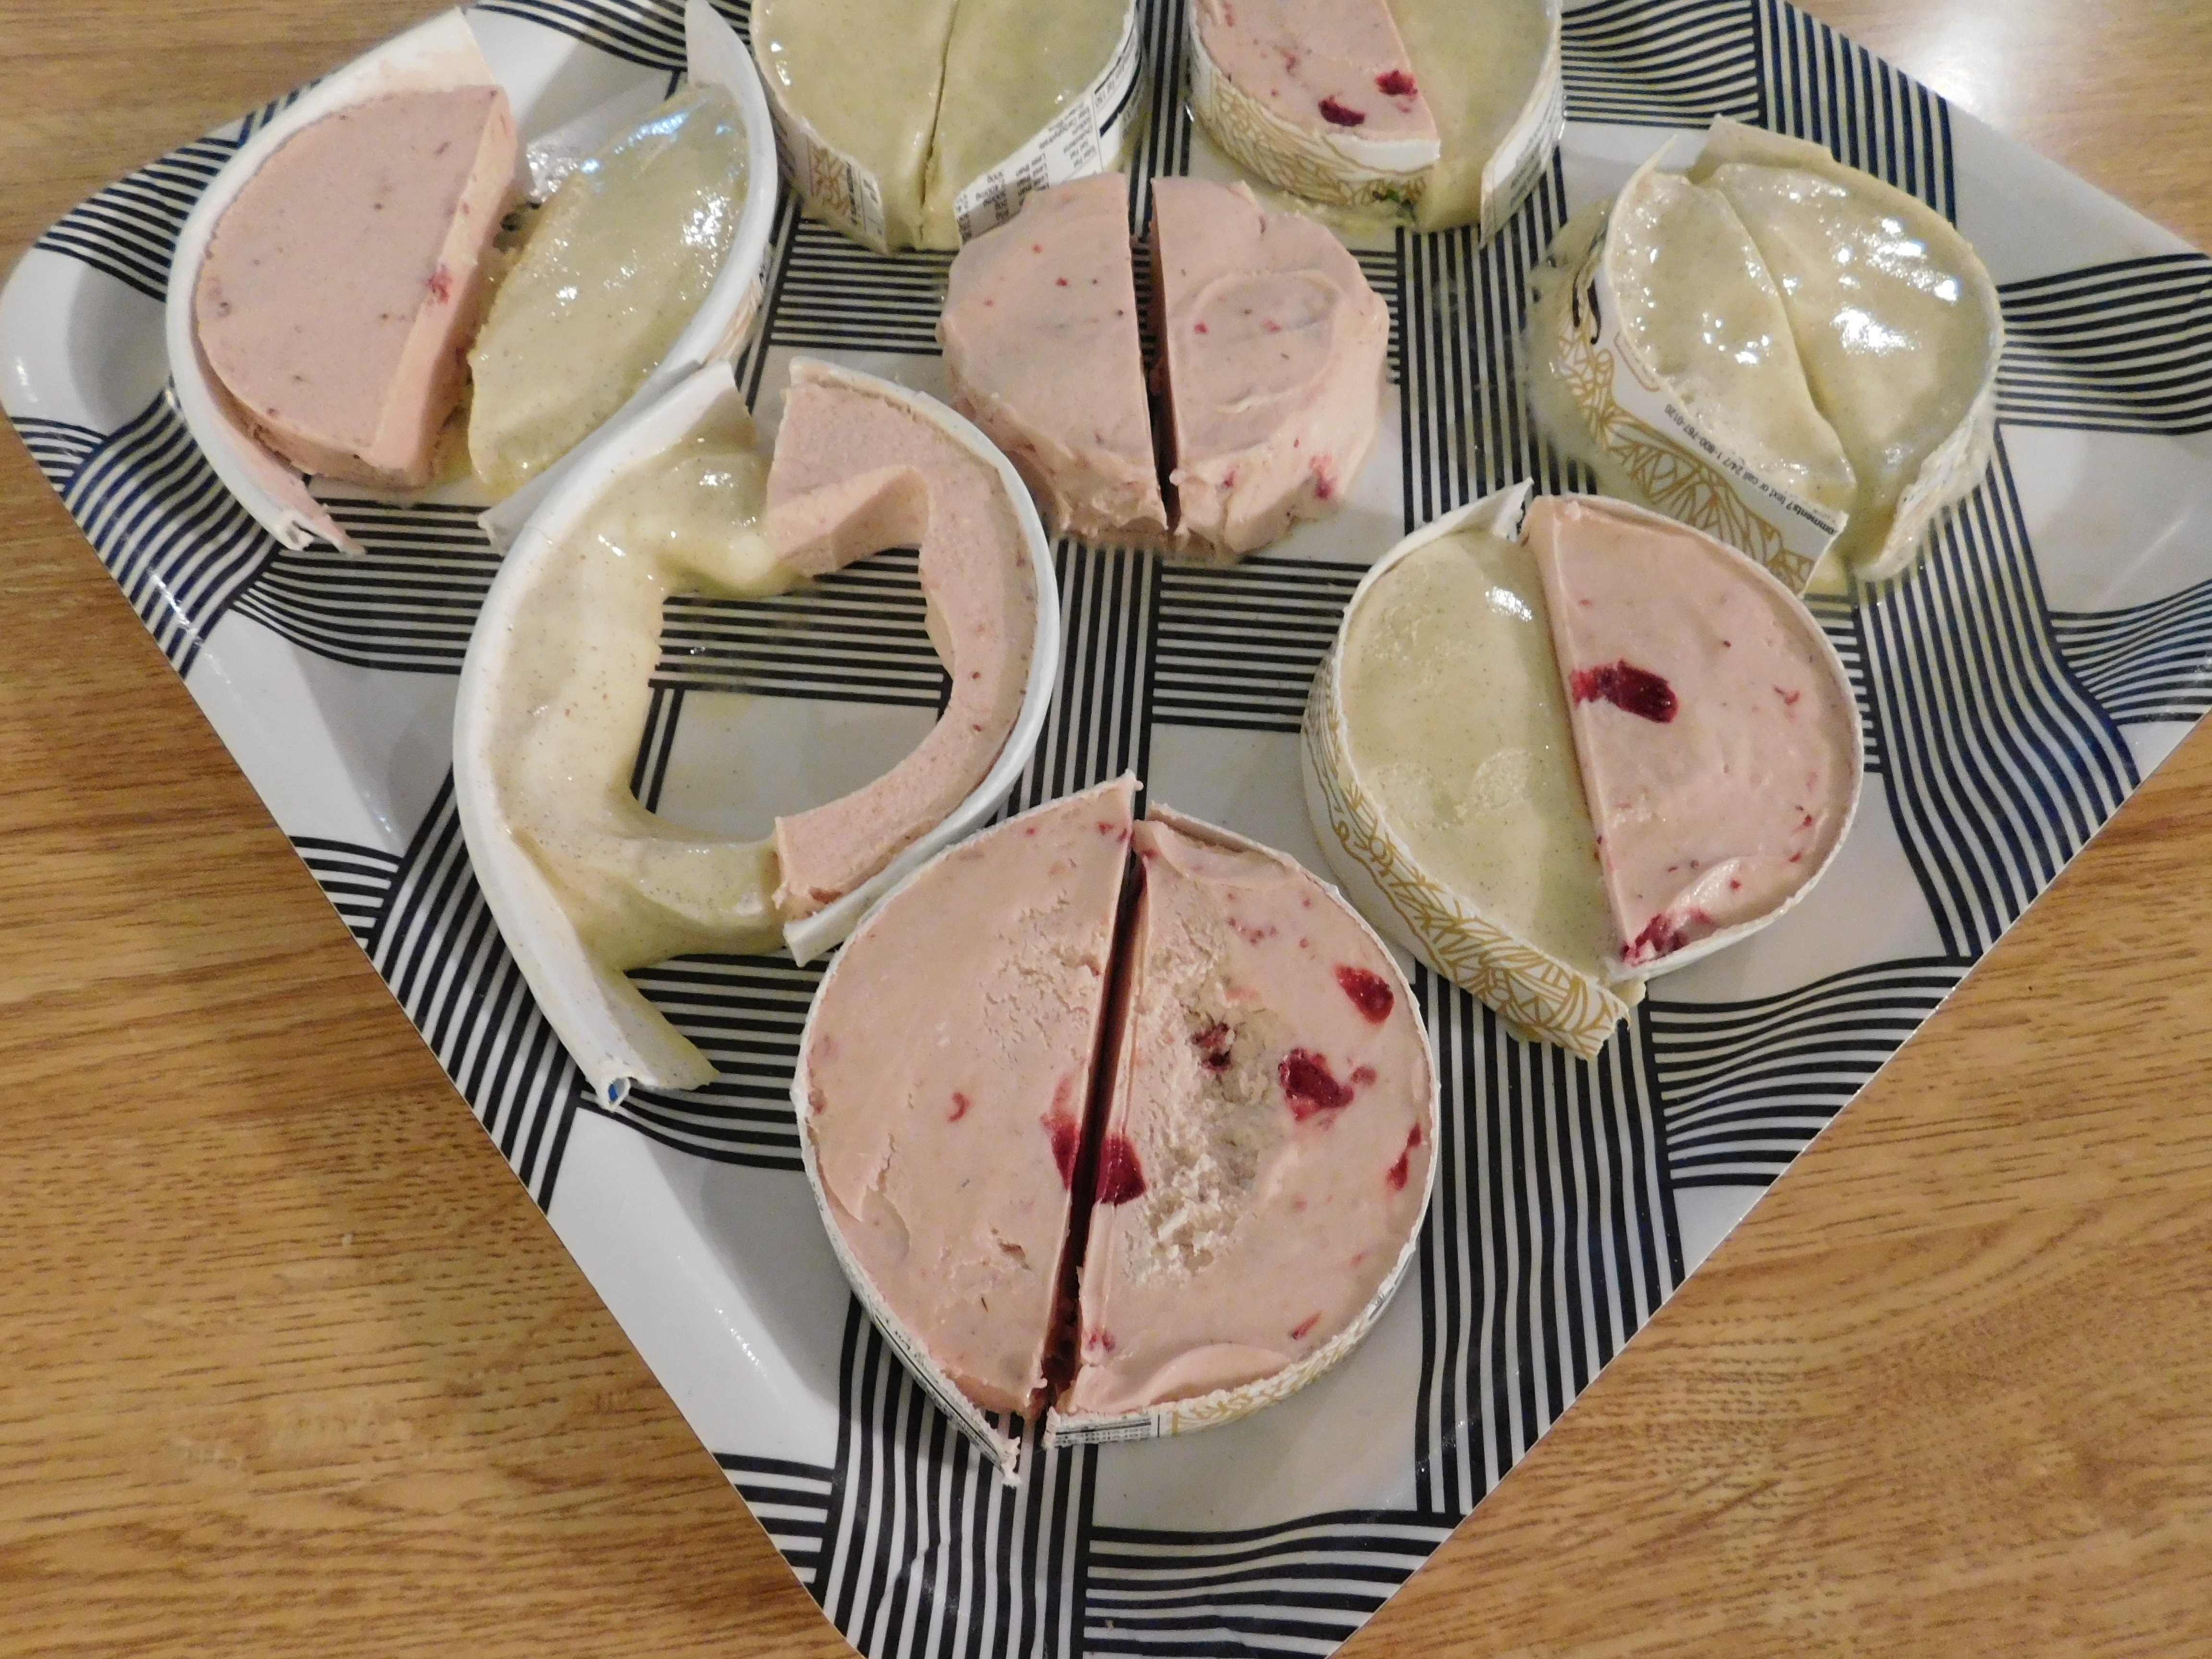
Cut your ice cream pints into slices (cut right through the cardboard) with a bread knife and place the slices on a tray in the freezer to firm up again, about half an hour. Cut the slices in half and match the halves up with one white and one pink for each circle; freeze another half hour.
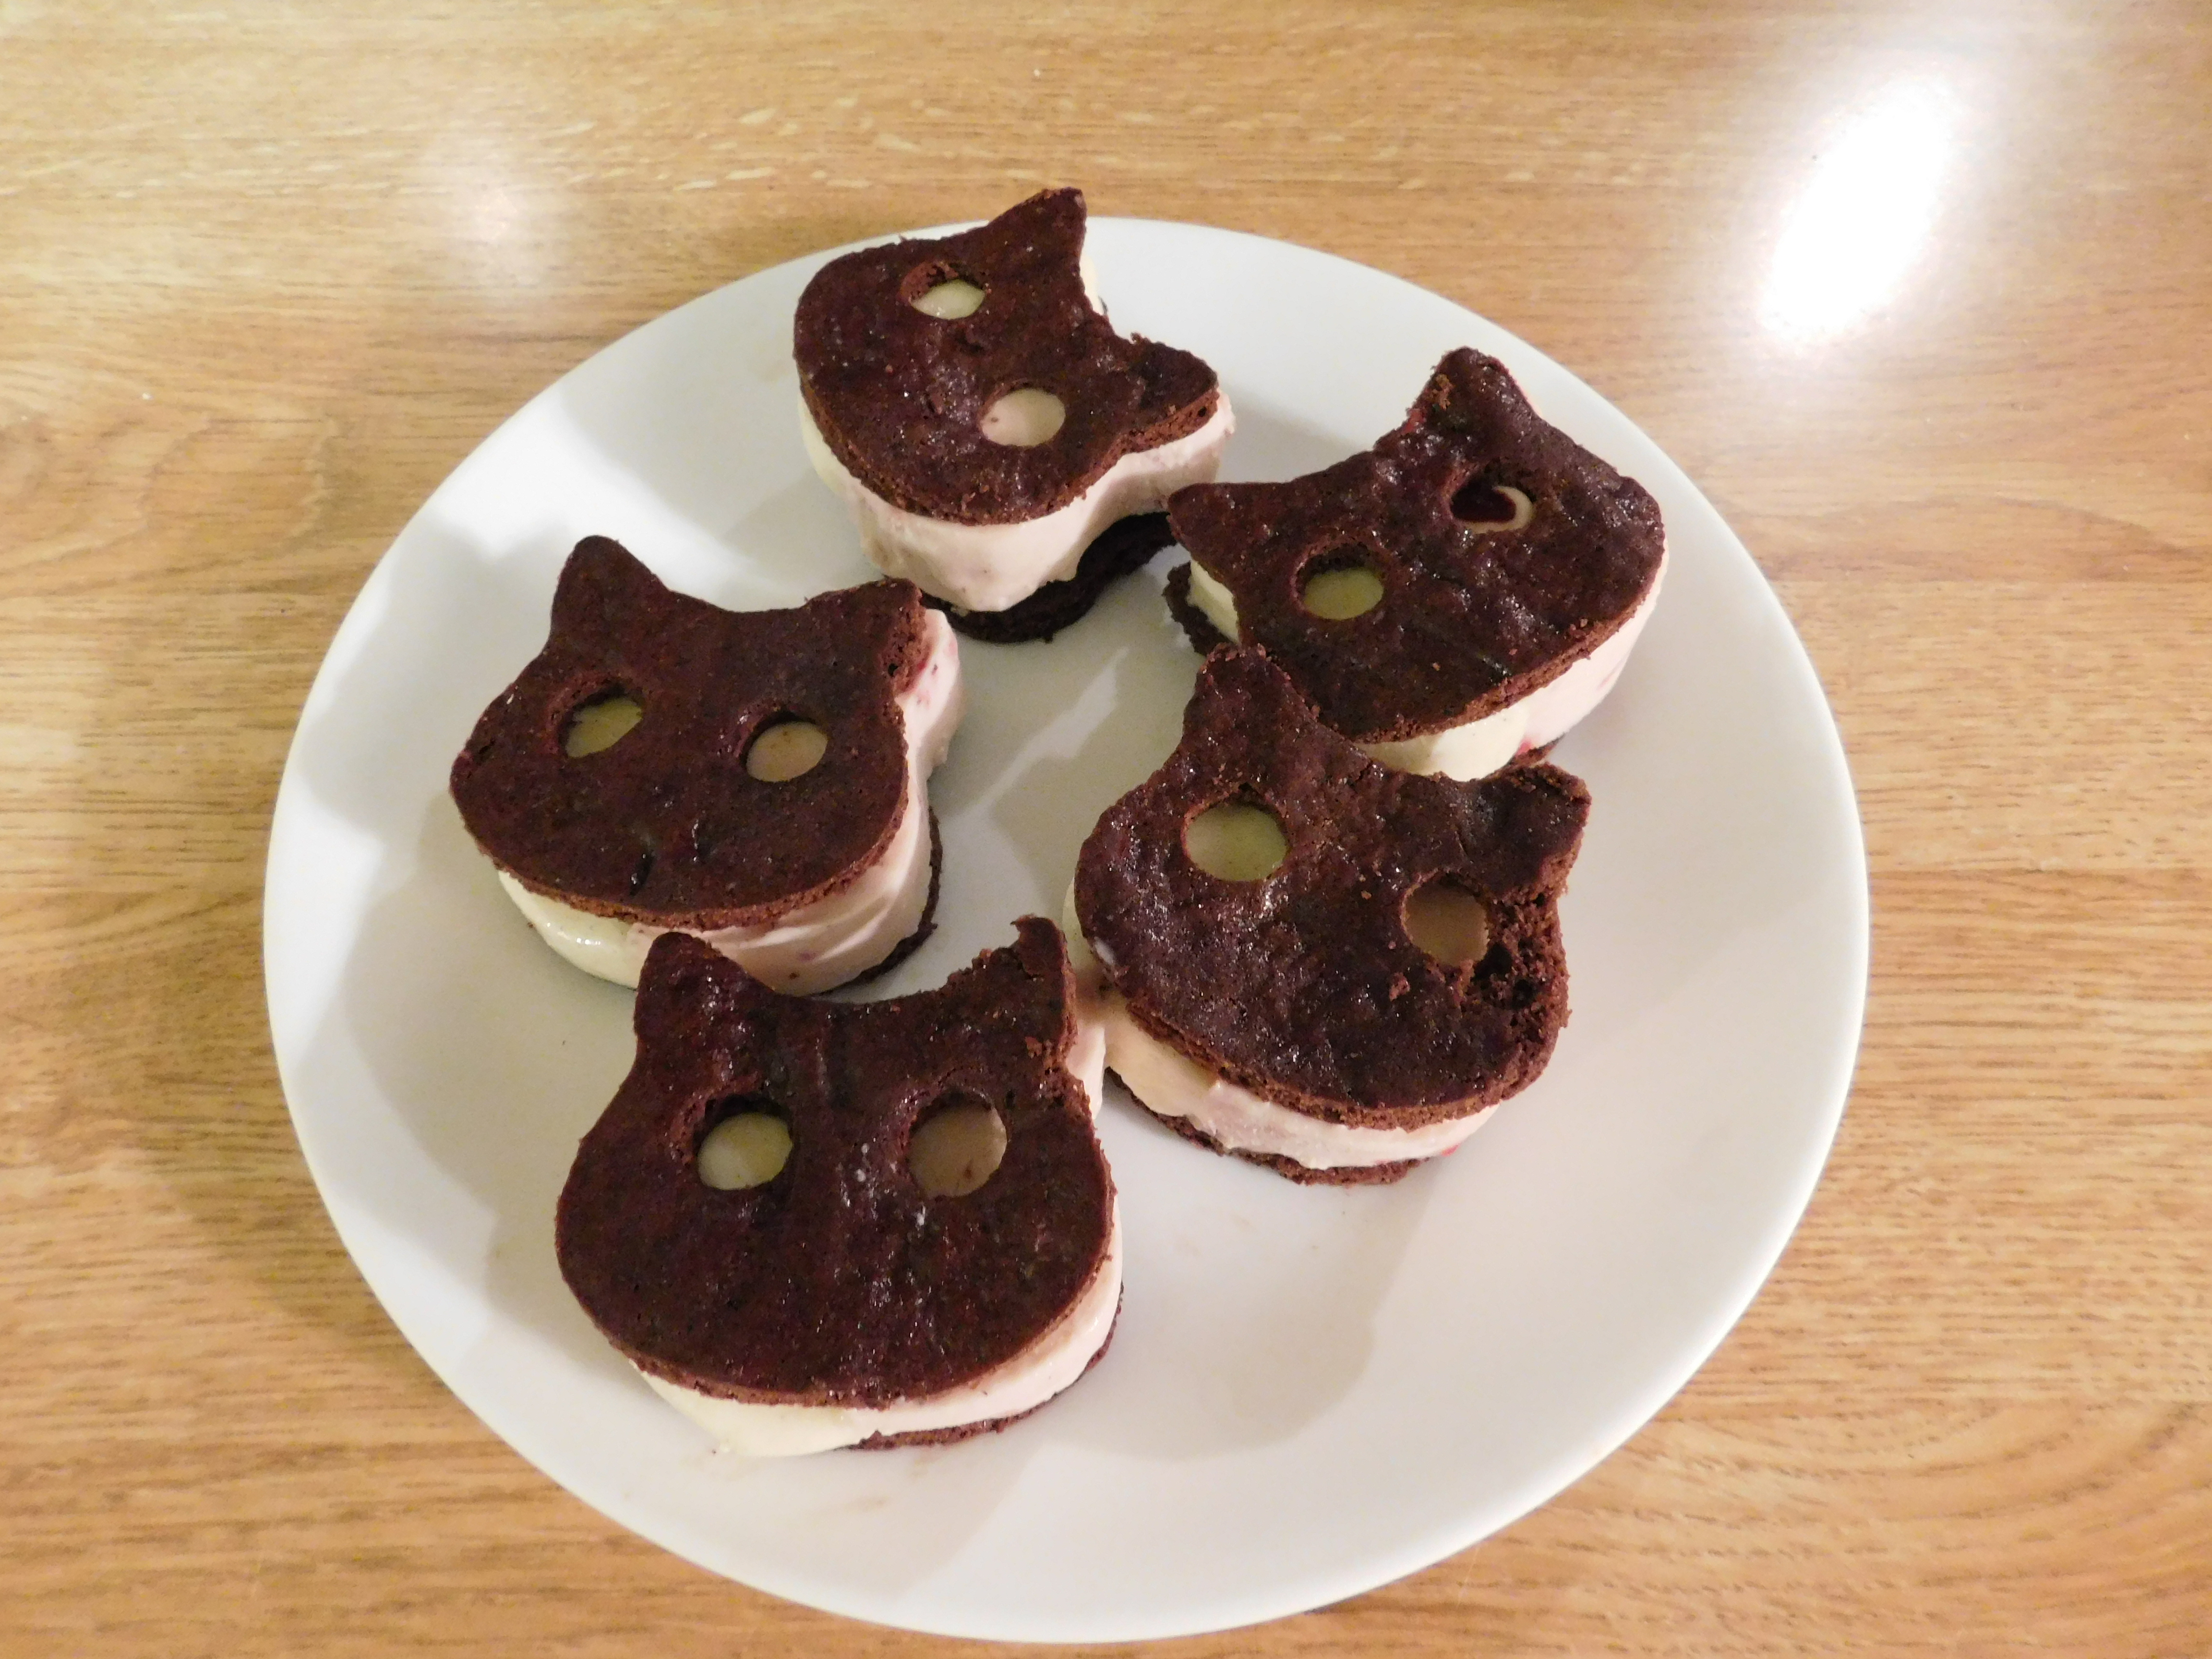
Cut cat shapes out of the ice cream so the ice cream cut-out is half white and half pink, and stack them: plain cookie, ice cream, cookie with eye holes. Freeze again on a plate for at least an hour before serving, or wrap them individually in foil to store them for a week.
He’s a frozen treat with an all new taste!
Cuz he came to this planet from outer space!
A refugee of an interstellar war!
But now he’s at your local grocery store!
Notes
This recipe itself isn’t too hard, but some of the details are tricky. You can make it in advance so try to do it when you have time to put the ice cream back in the freezer as much as possible. It’s very easy to get frustrated when even a few extra seconds out on the counter on a hot day ruins your ice cream slices. You can see in my picture that my vanilla ice cream stayed very soft, like Play-Doh, even when fully frozen, and my strawberry ice cream made nice firm slices that stayed sharp and easy to work with for almost 15 minutes! They were even the same brand (Haagen-Dazs) so it must be down to the ingredient ratios of the different flavors. Maybe give the pints a squeeze at the grocery store and see which flavors/brands are hard. Lower butterfat ice creams will be easier to work with because fat limits freezing, premium ice creams with higher butterfat will taste better (in my opinion) so use your judgement.
If you want to make things easier, just buy all the same flavor of ice cream and don’t worry about halving and moving the slices for the half-white-half-pink color scheme, this is a minor detail compared to the look of the whole thing. No reason you can’t just use whatever ice cream flavor is your favorite either, but remember a lot of chunks will make them hard to slice.
I spread my cookie batter “mostly” flat expecting it to level a bit while cooking; it barely did at all and was definitely thicker in some spots. Next time I’ll be sure to take the time and smooth it as flat as I can.
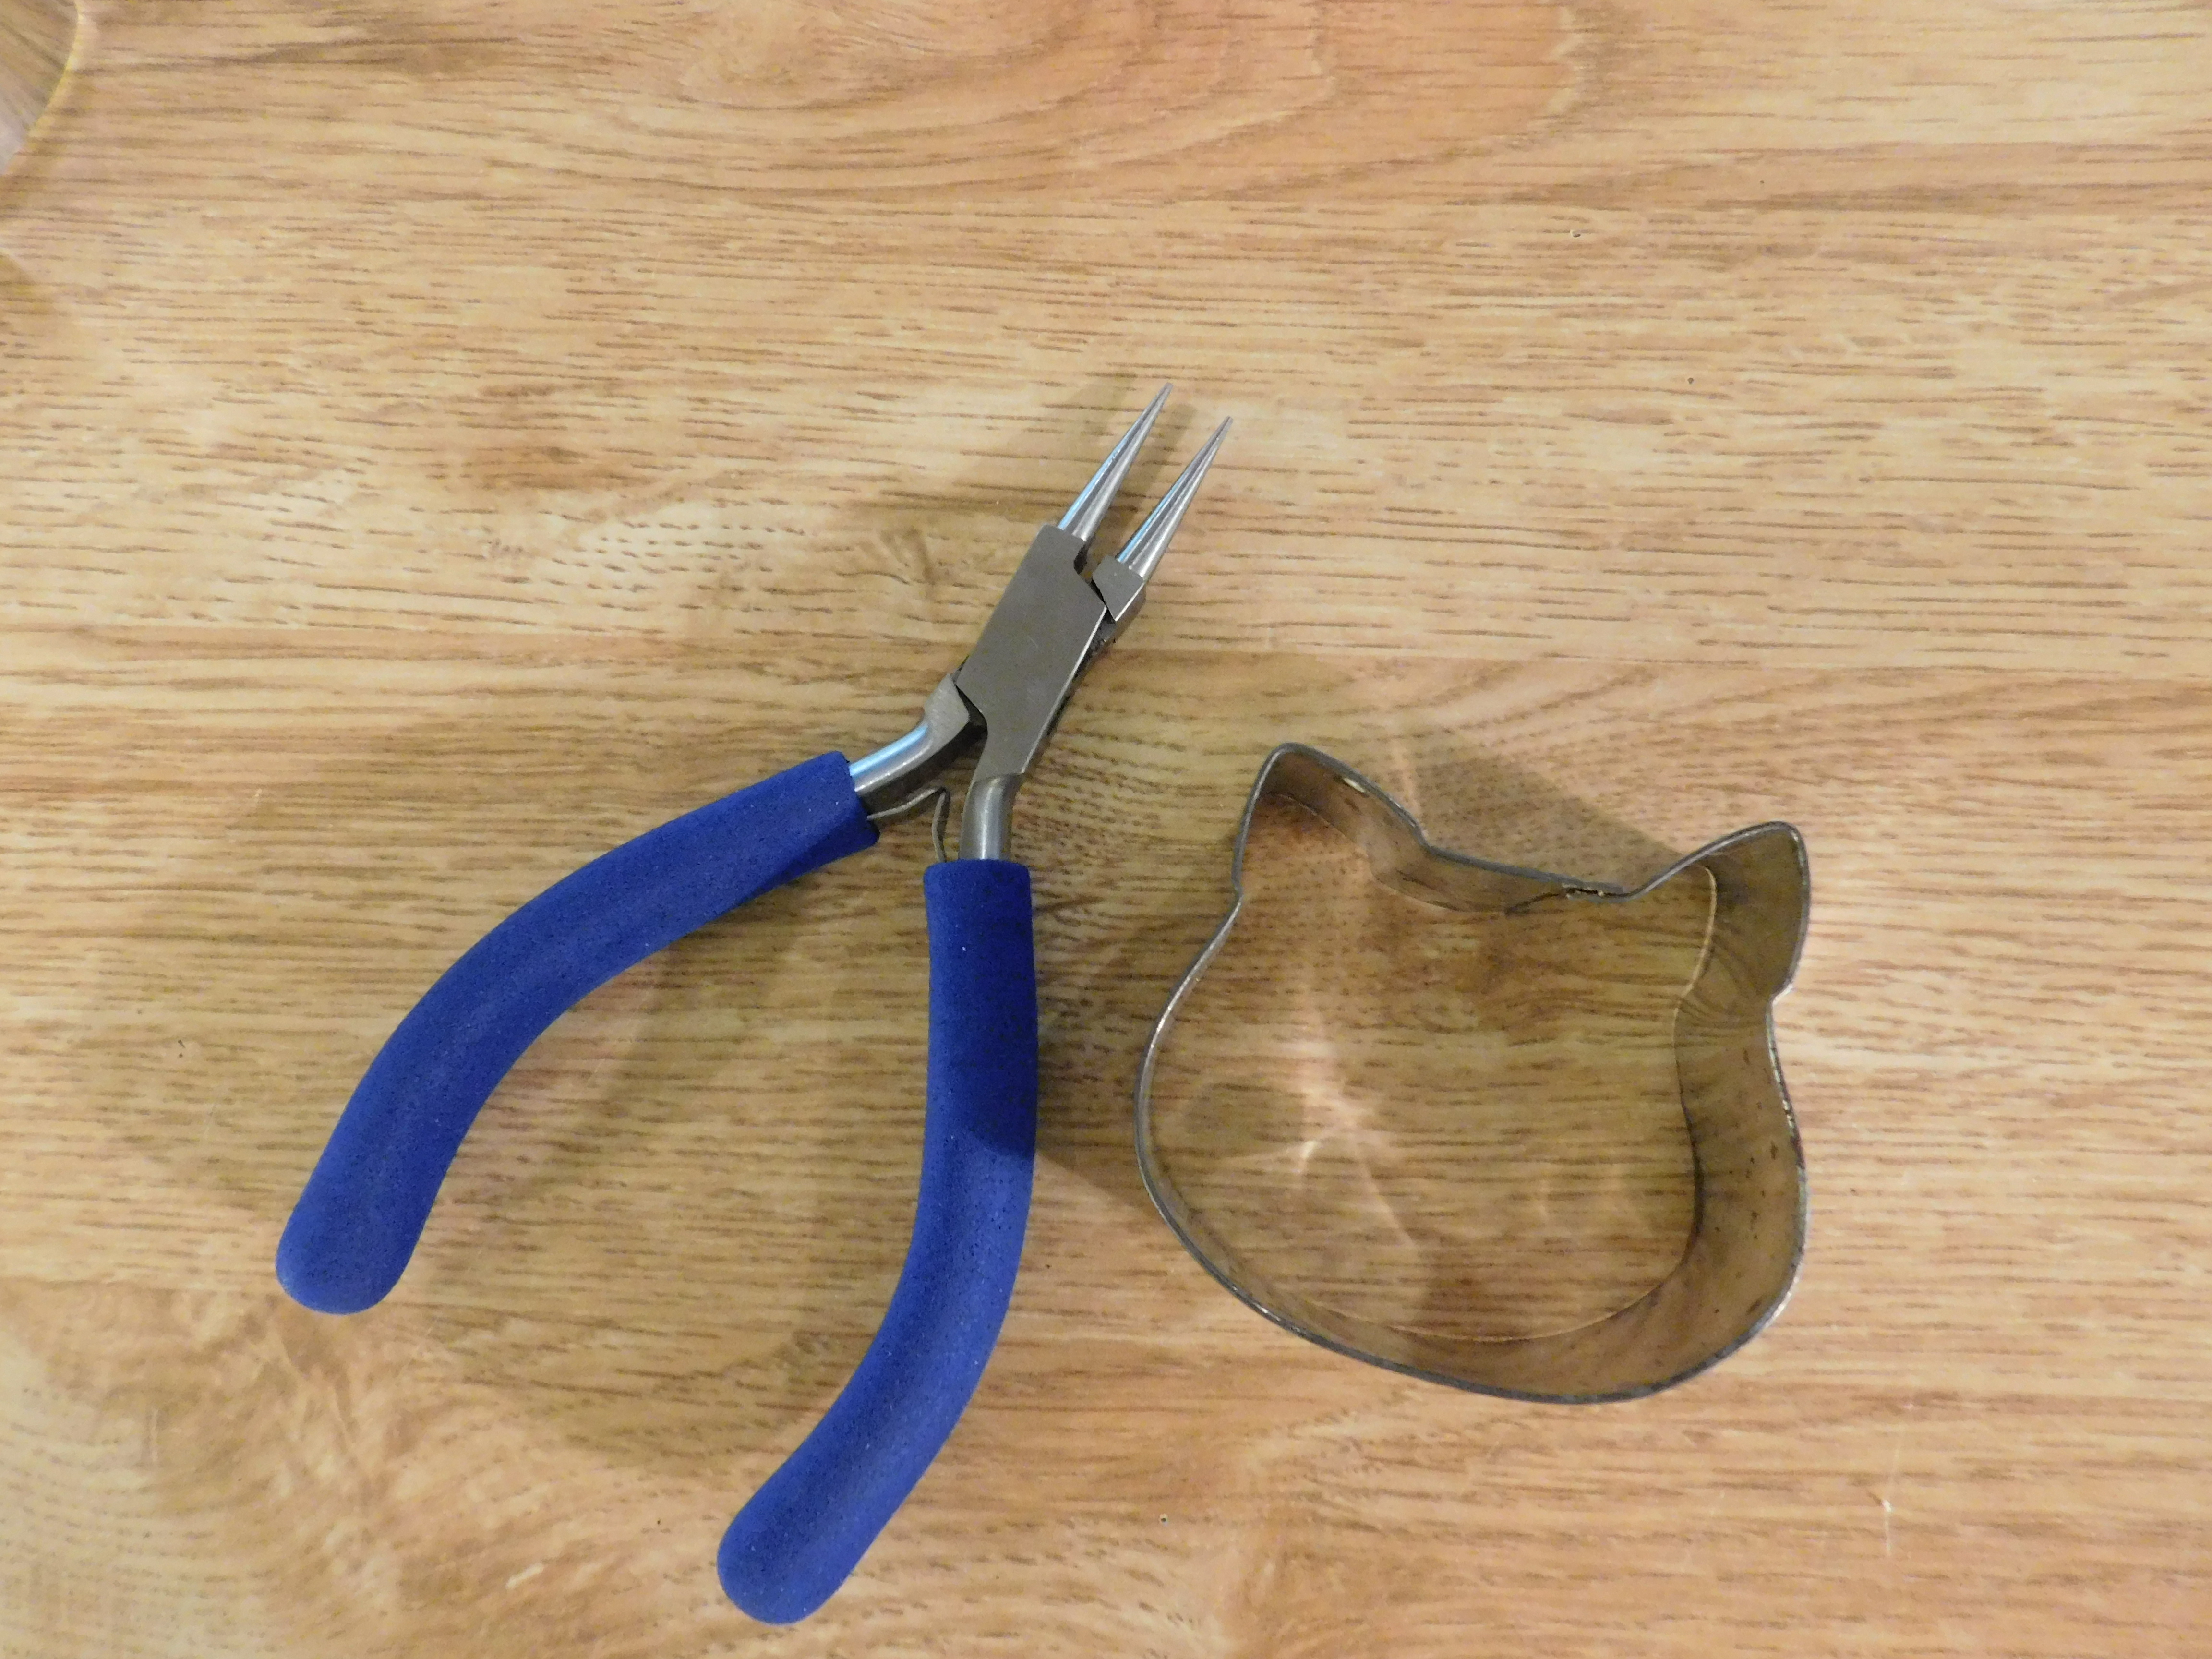
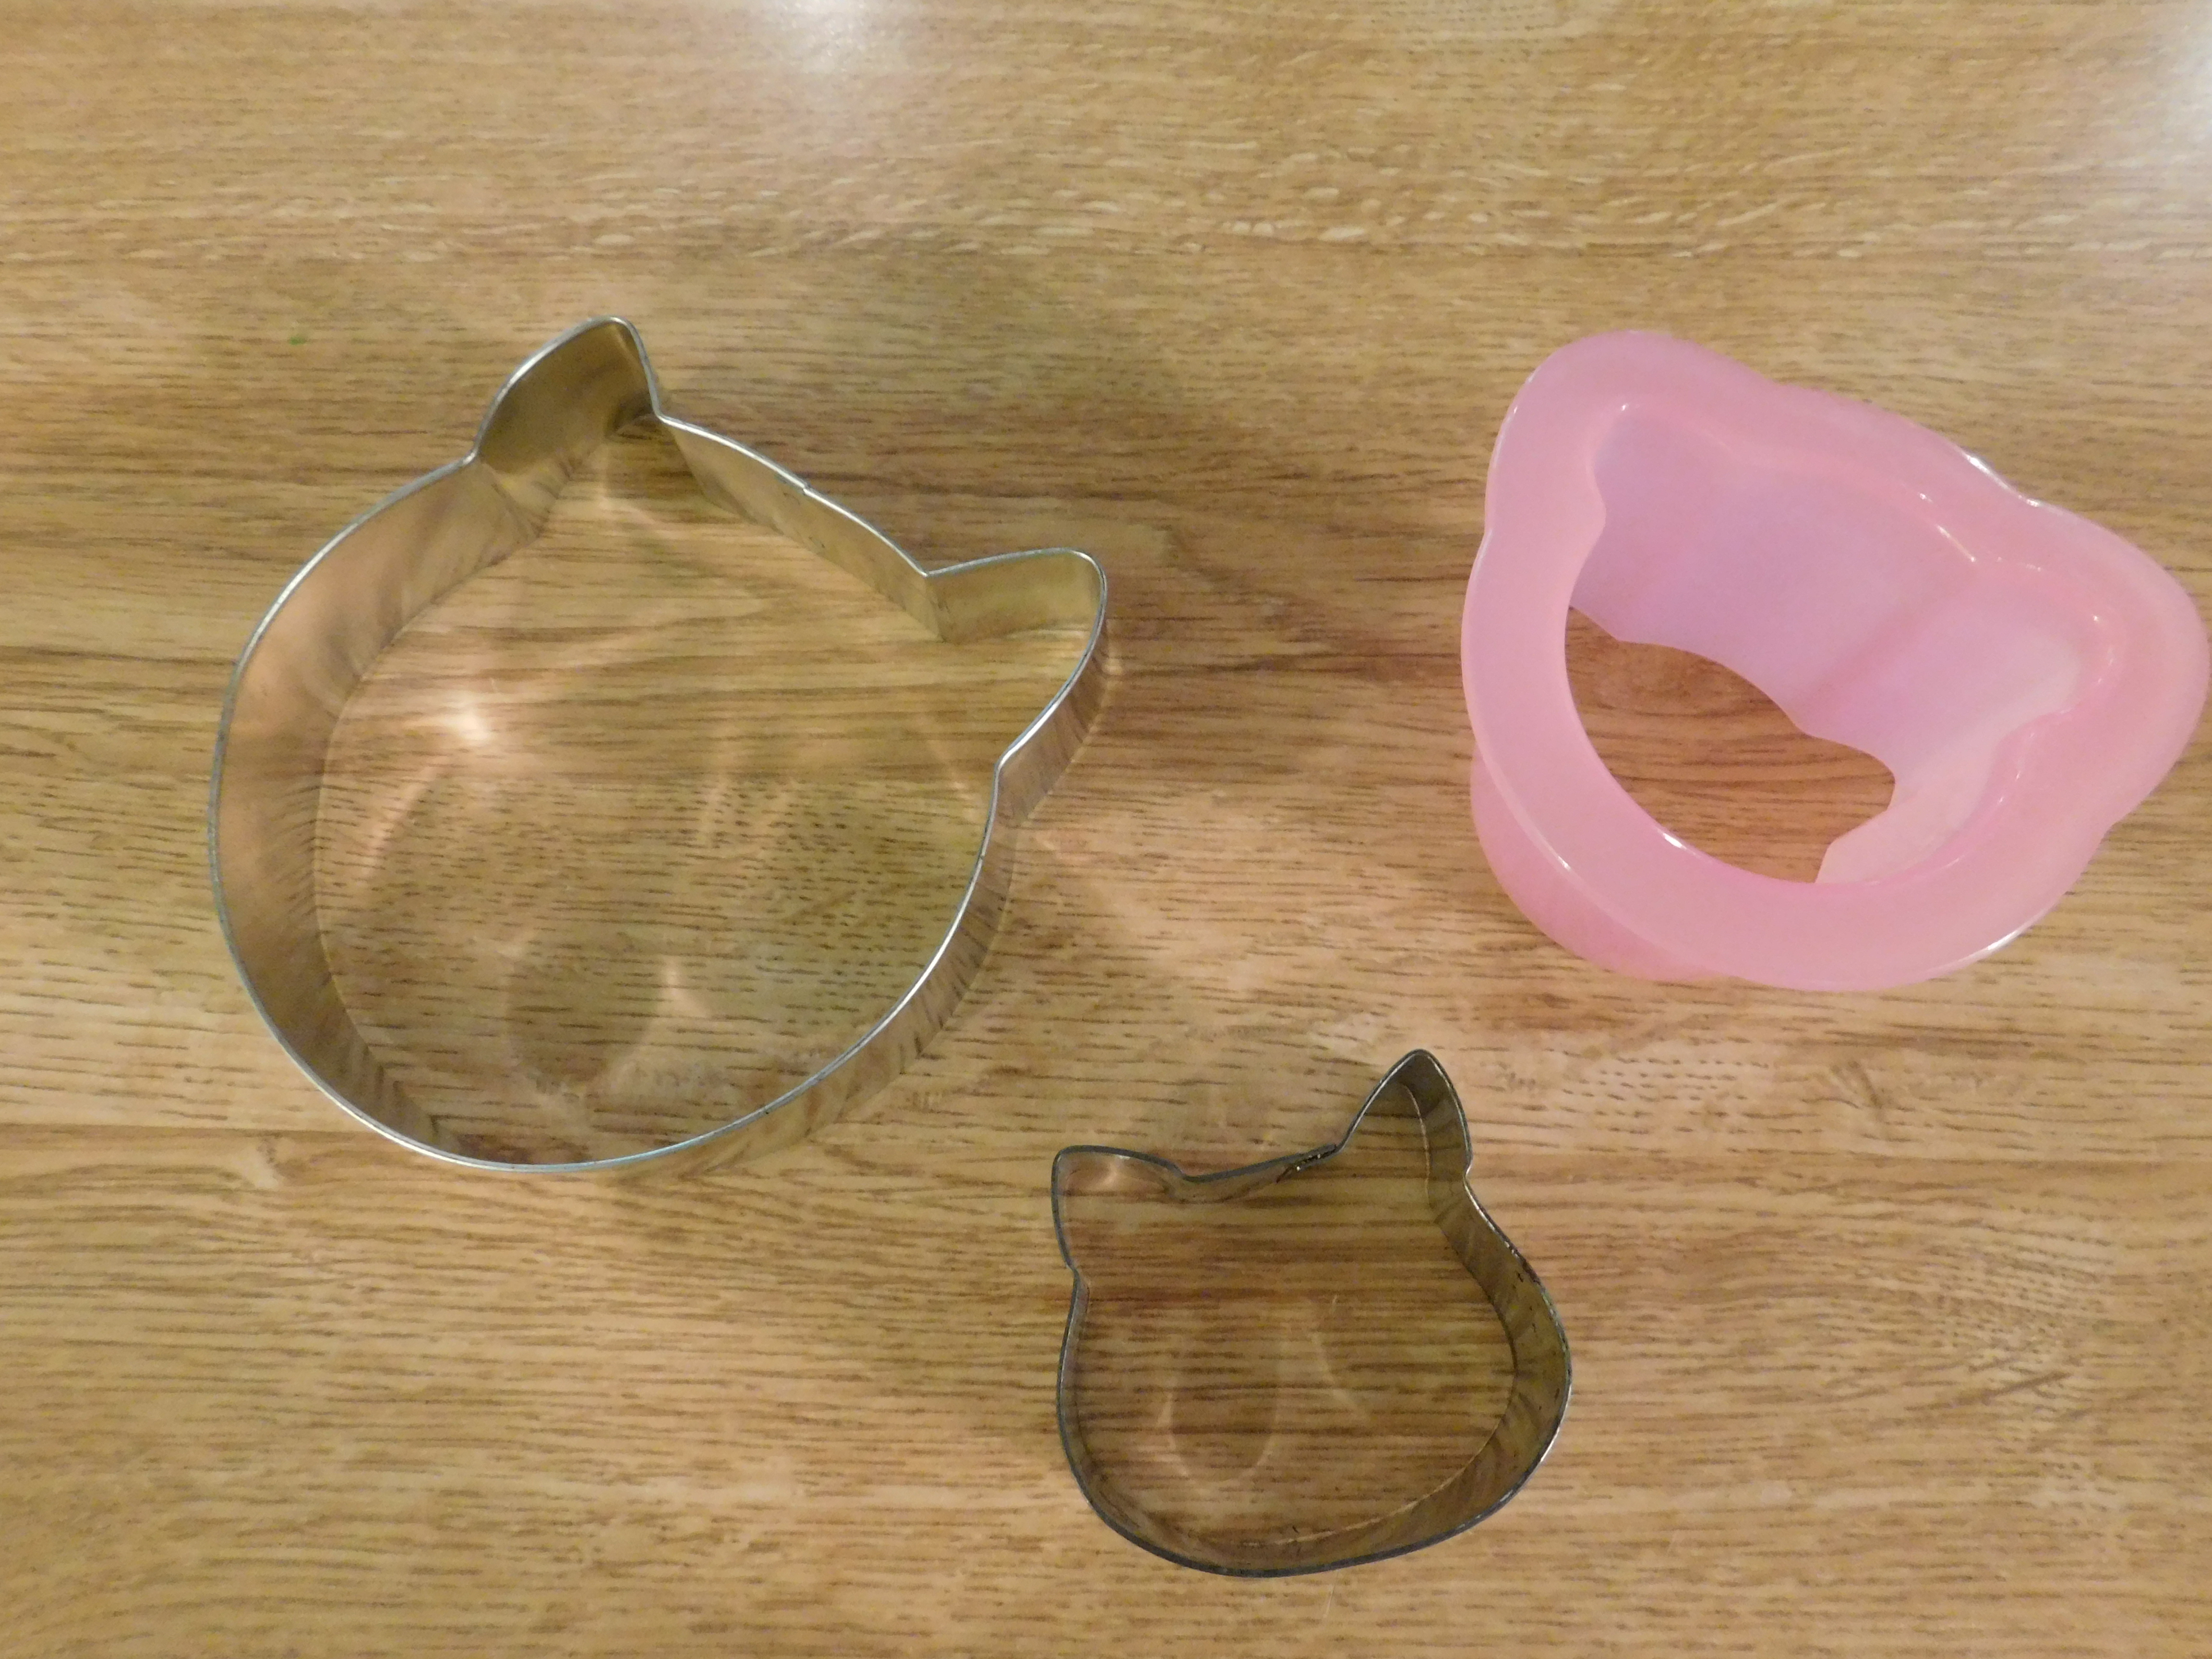
Now- that cookie cat cutter! In the picture above the notes section were the 3 I considered: a “cat head cookie cutter” I bought on Amazon for about $4 that’s way too big, a pink Japanese sandwich cutter in the shape of a pig that’s not *quite* the right shape, and a round 3” biscuit cutter I modified myself. This is definitely the one I recommend, simple round cutters are easy to find, and you just need jewelry pliers (like needlenose pliers with rounded tips- or just needlenose would work too) to shape the cutter. Gently bend the ear points out with your fingers, then use the pliers to shape clear angles where the ears join the head. Squish the circle a bit to make the head wider than it is tall. Mine is NOT very symmetrical but you can’t tell from the finished cookies! I used a round fondant cutter for the eye holes (it has a little spring-loaded pin to push out the cut material) but you could easily use a drinking straw or flat pen cap to make the eyes.
If I was making these to take them to a party, I would forget about ice cream altogether- I’d use whoopie pie frosting as filling. They’d look just as cute but keep at room temperature for days. Make and cut the cookie as usual, but make this filling:
- 6 tablespoons butter (3/4 stick), softened
- 2/3 cup powdered sugar
- 1 teaspoon vanilla
- pinch of salt
- 1 and 1/4 cups marshmallow fluff
Beat the butter and sugar until fluffy, add vanilla and salt, beat in the marshmallow fluff until smooth, about 2 minutes. Chill in the fridge if it seems too soft, then pipe directly onto the cookie bases leaving a little room for spread all the way around, then add the cookie tops and press lightly into place.