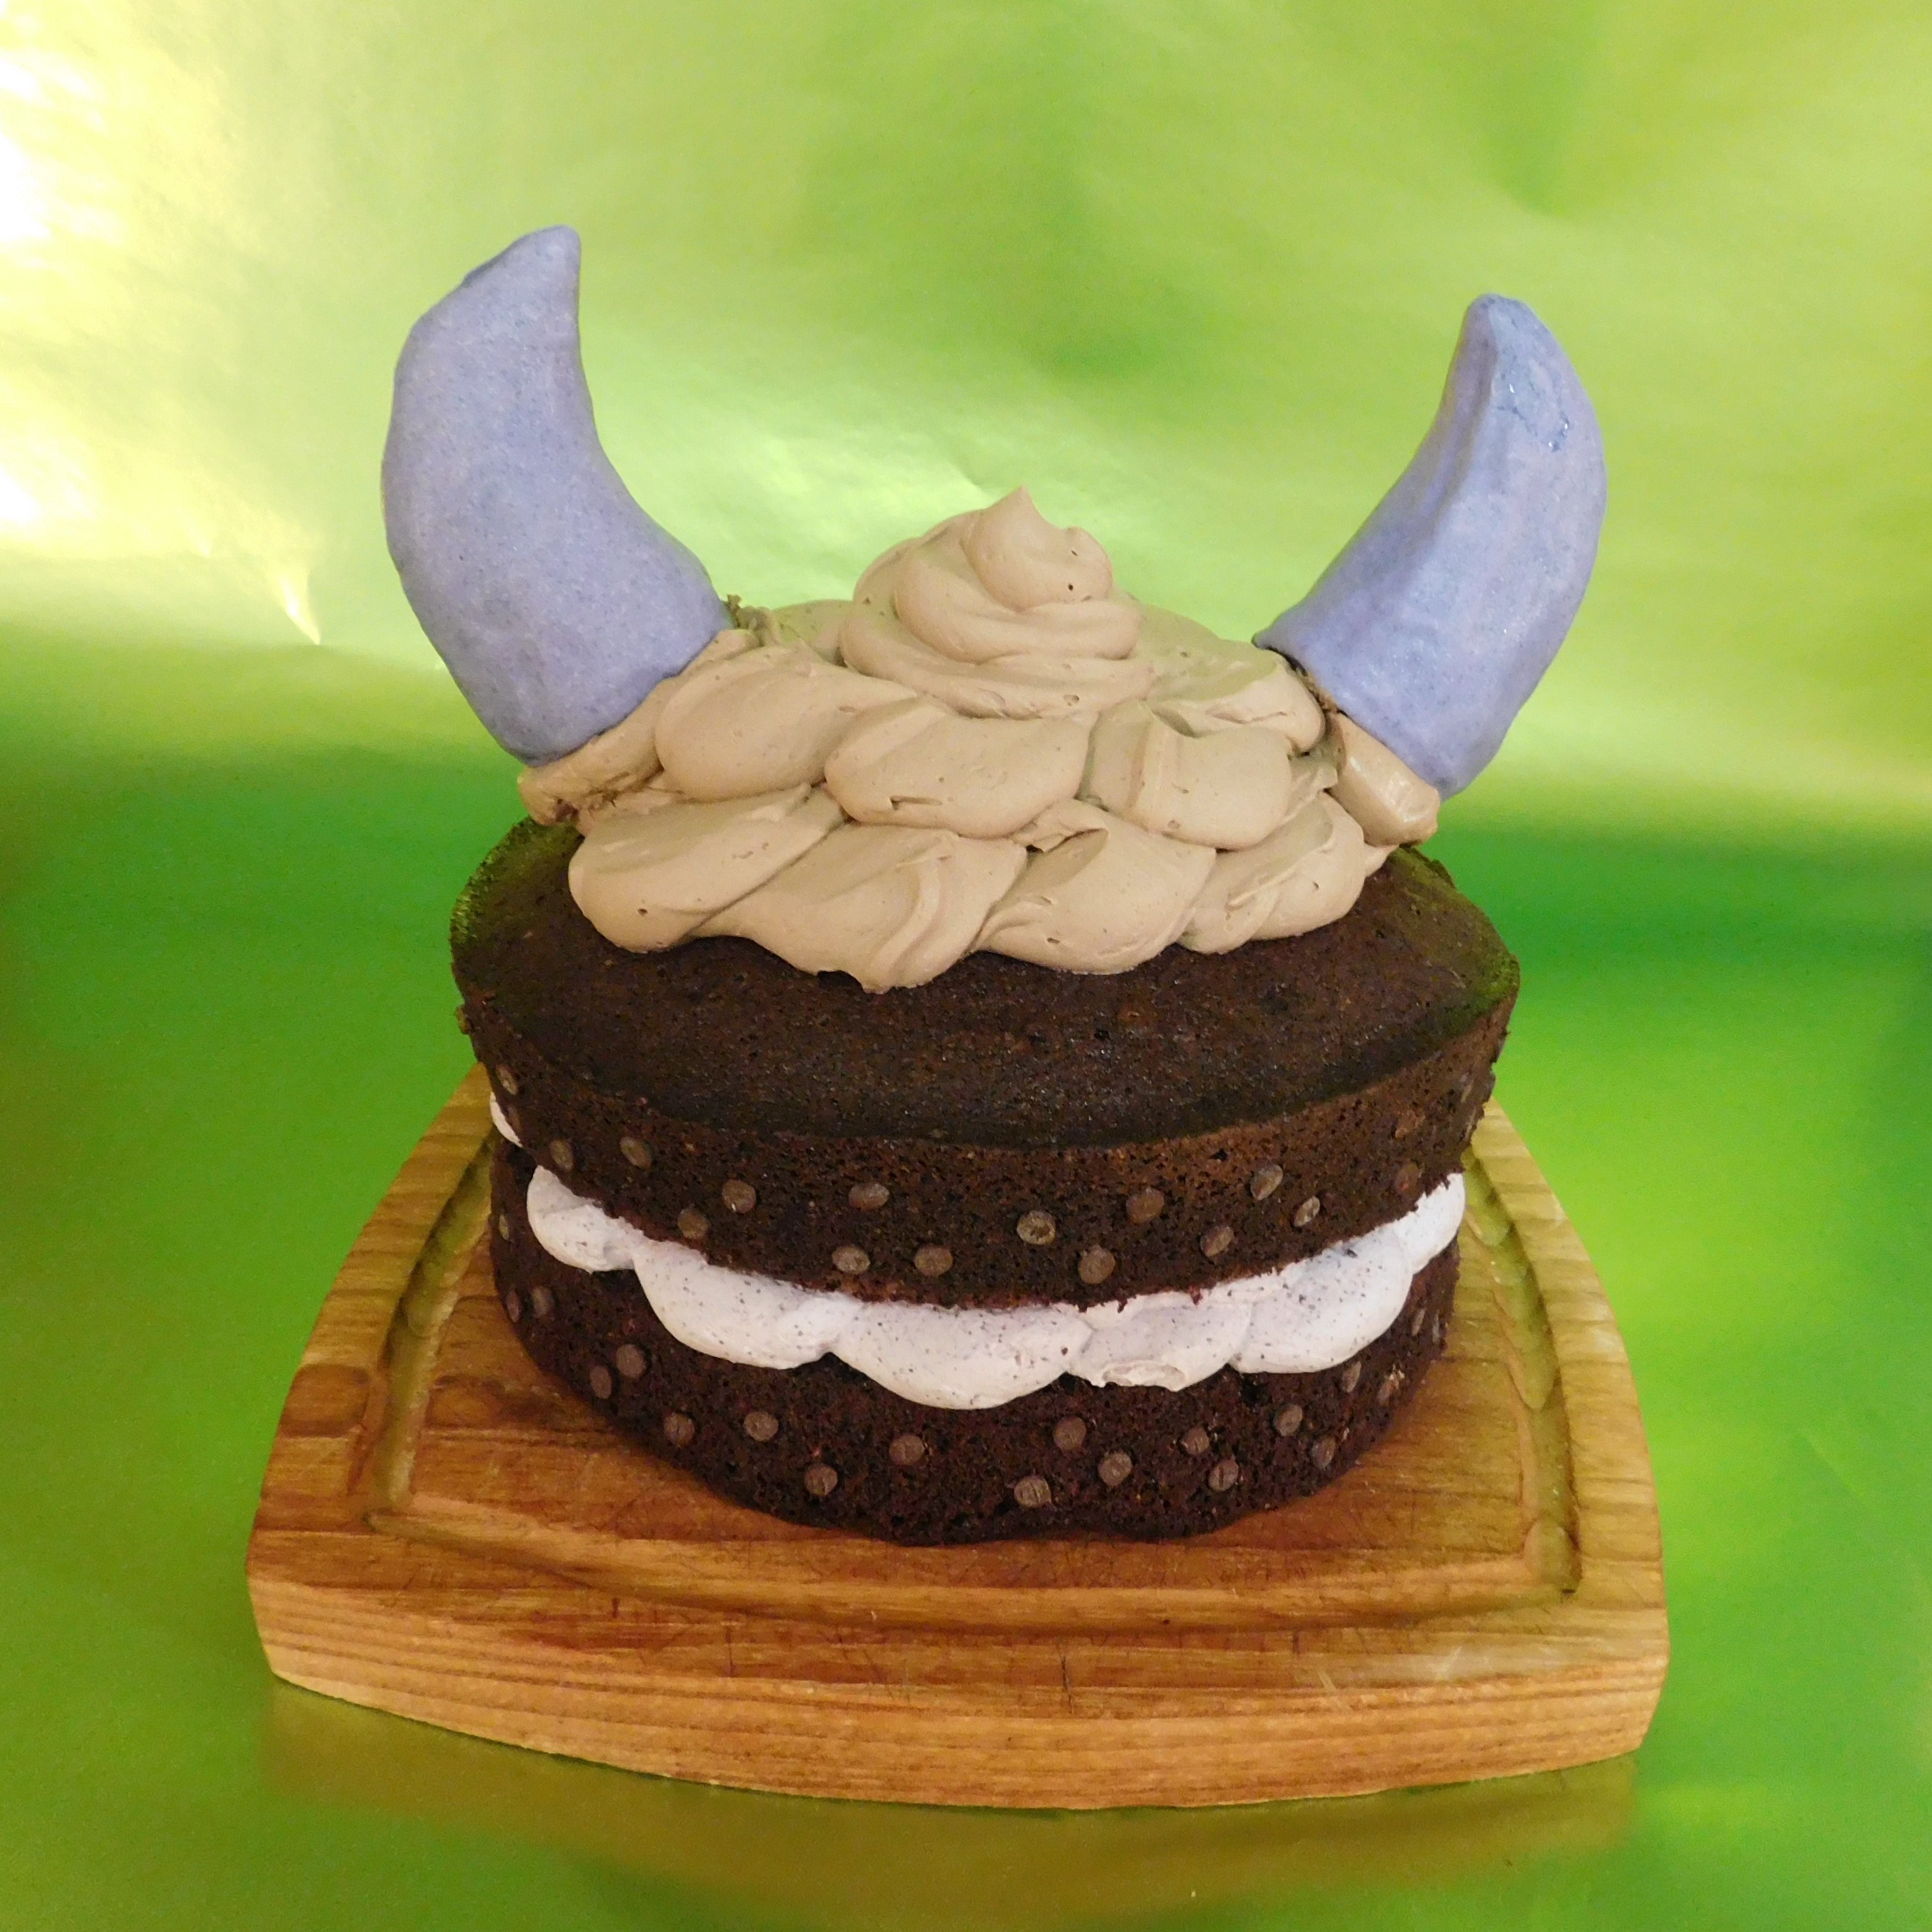
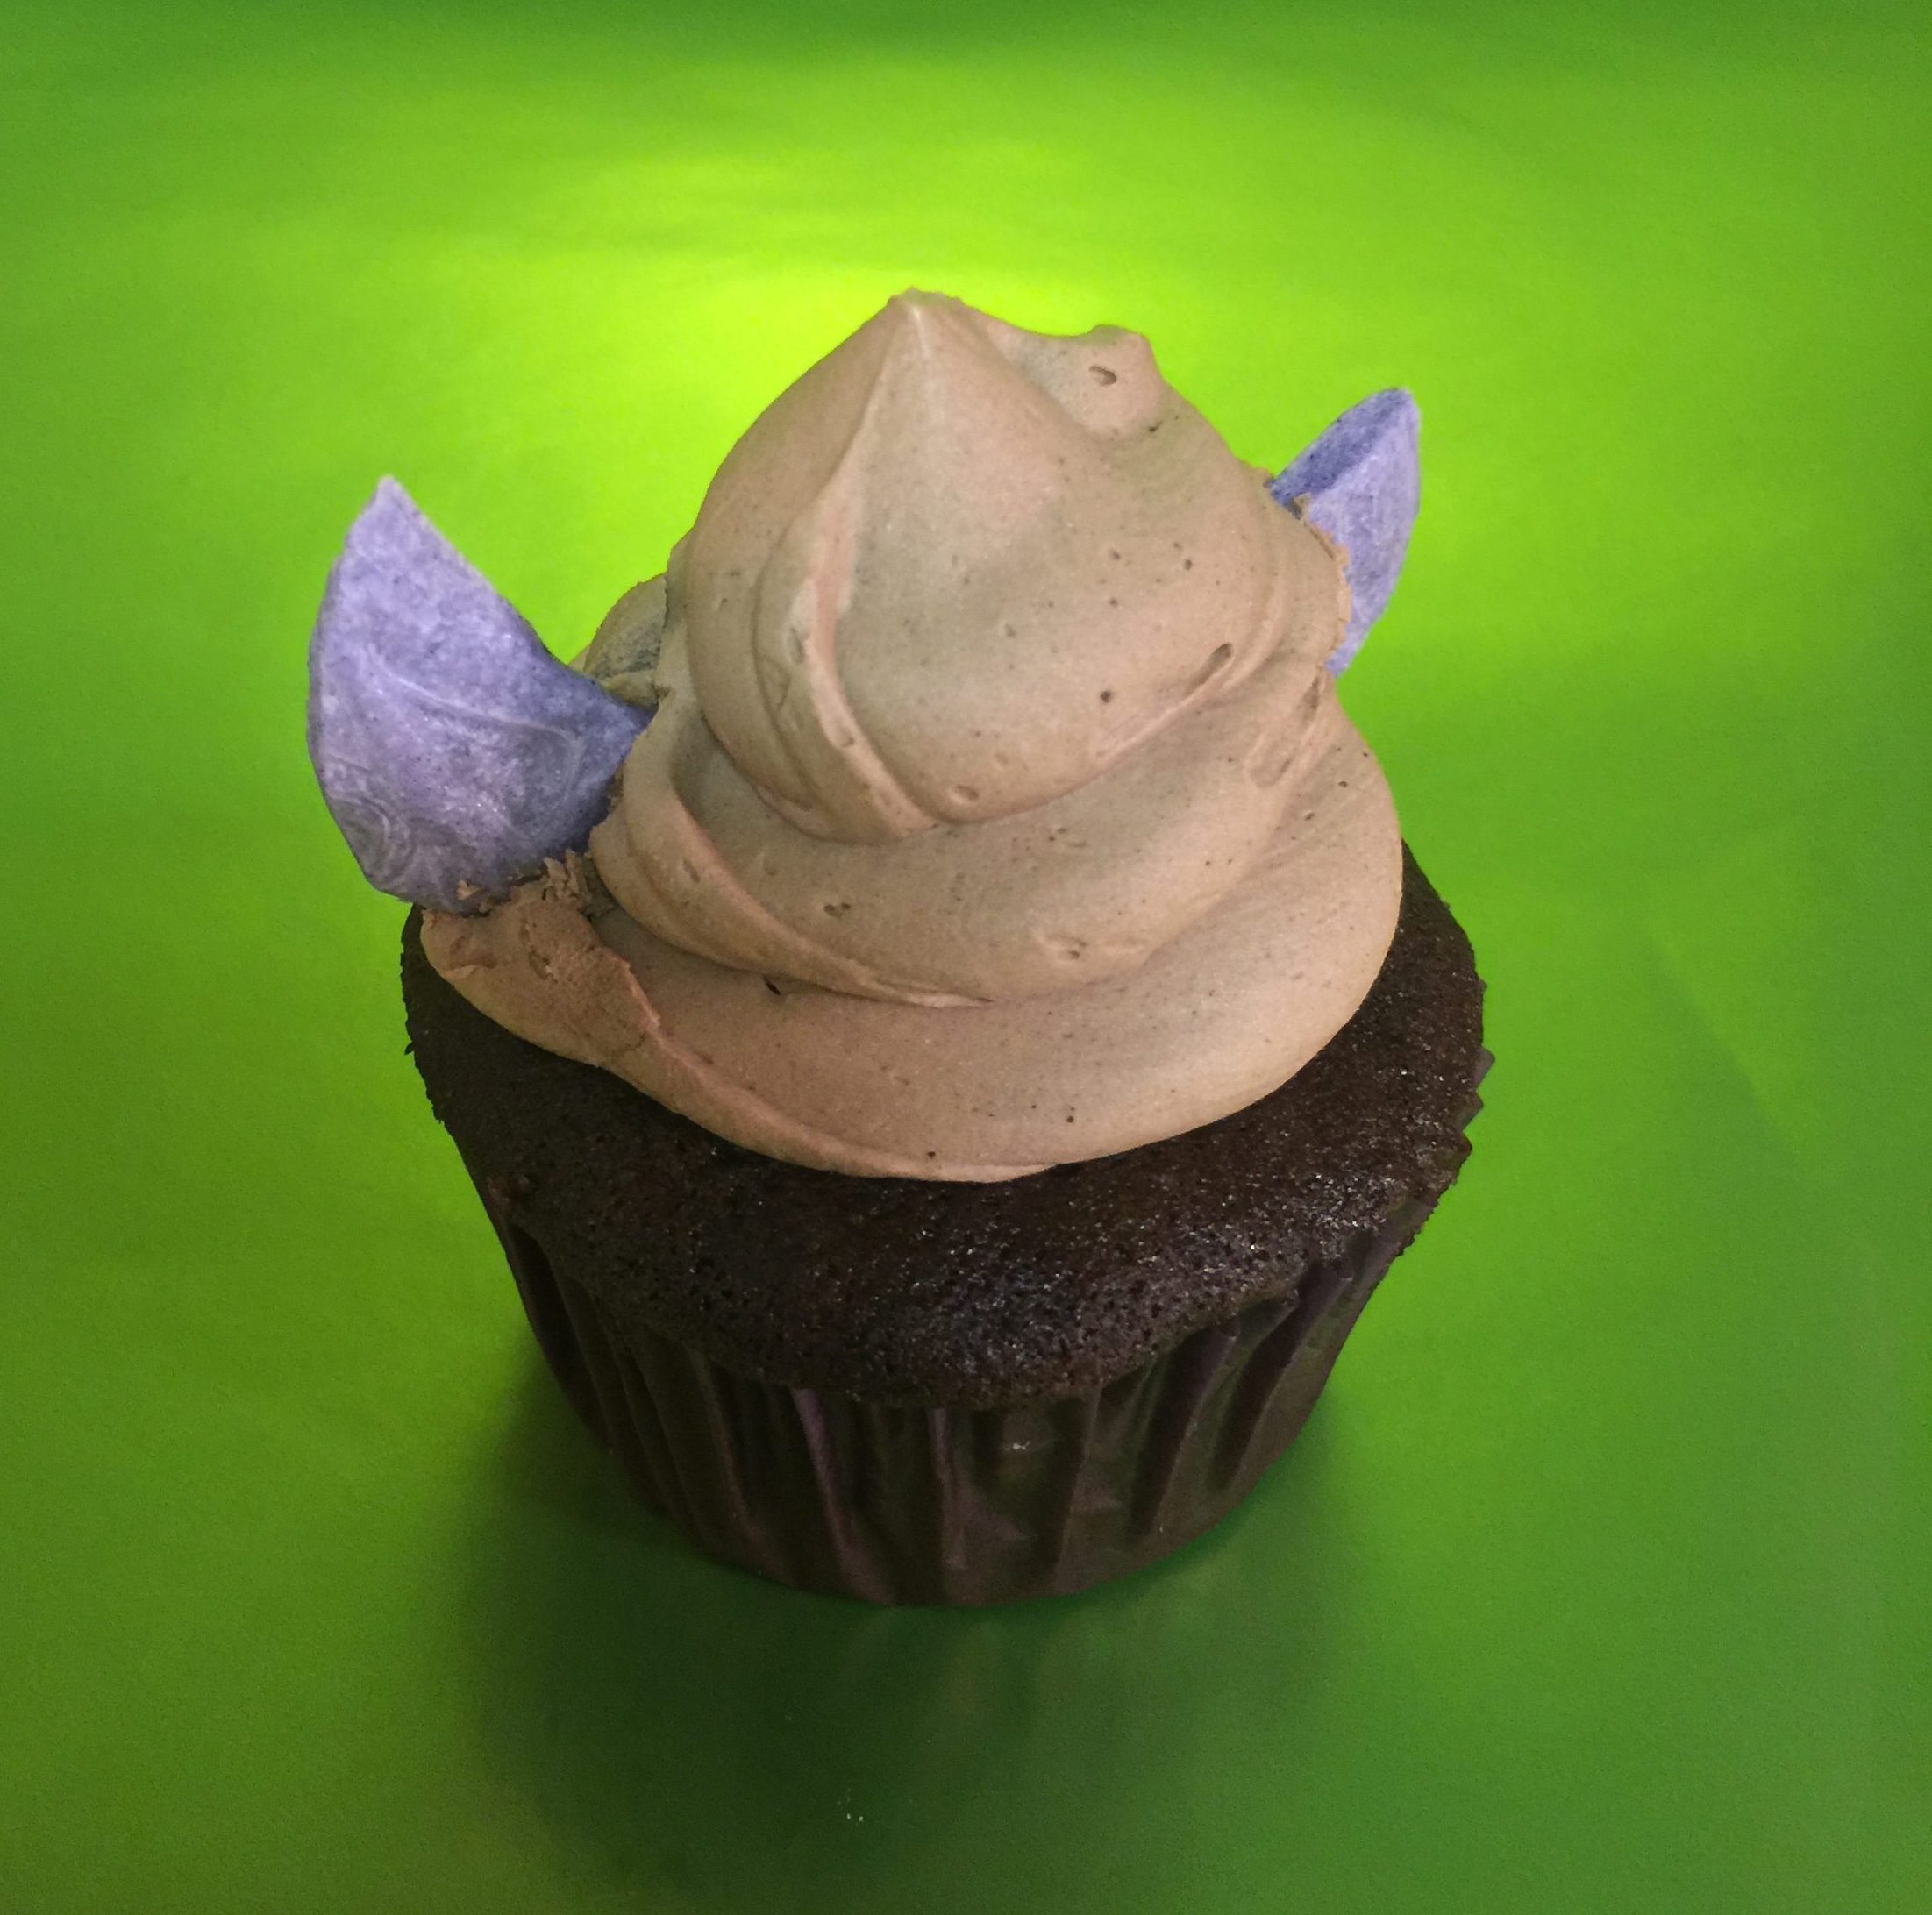
Monster Cake
from The Legend of Zelda: Breath of the Wild
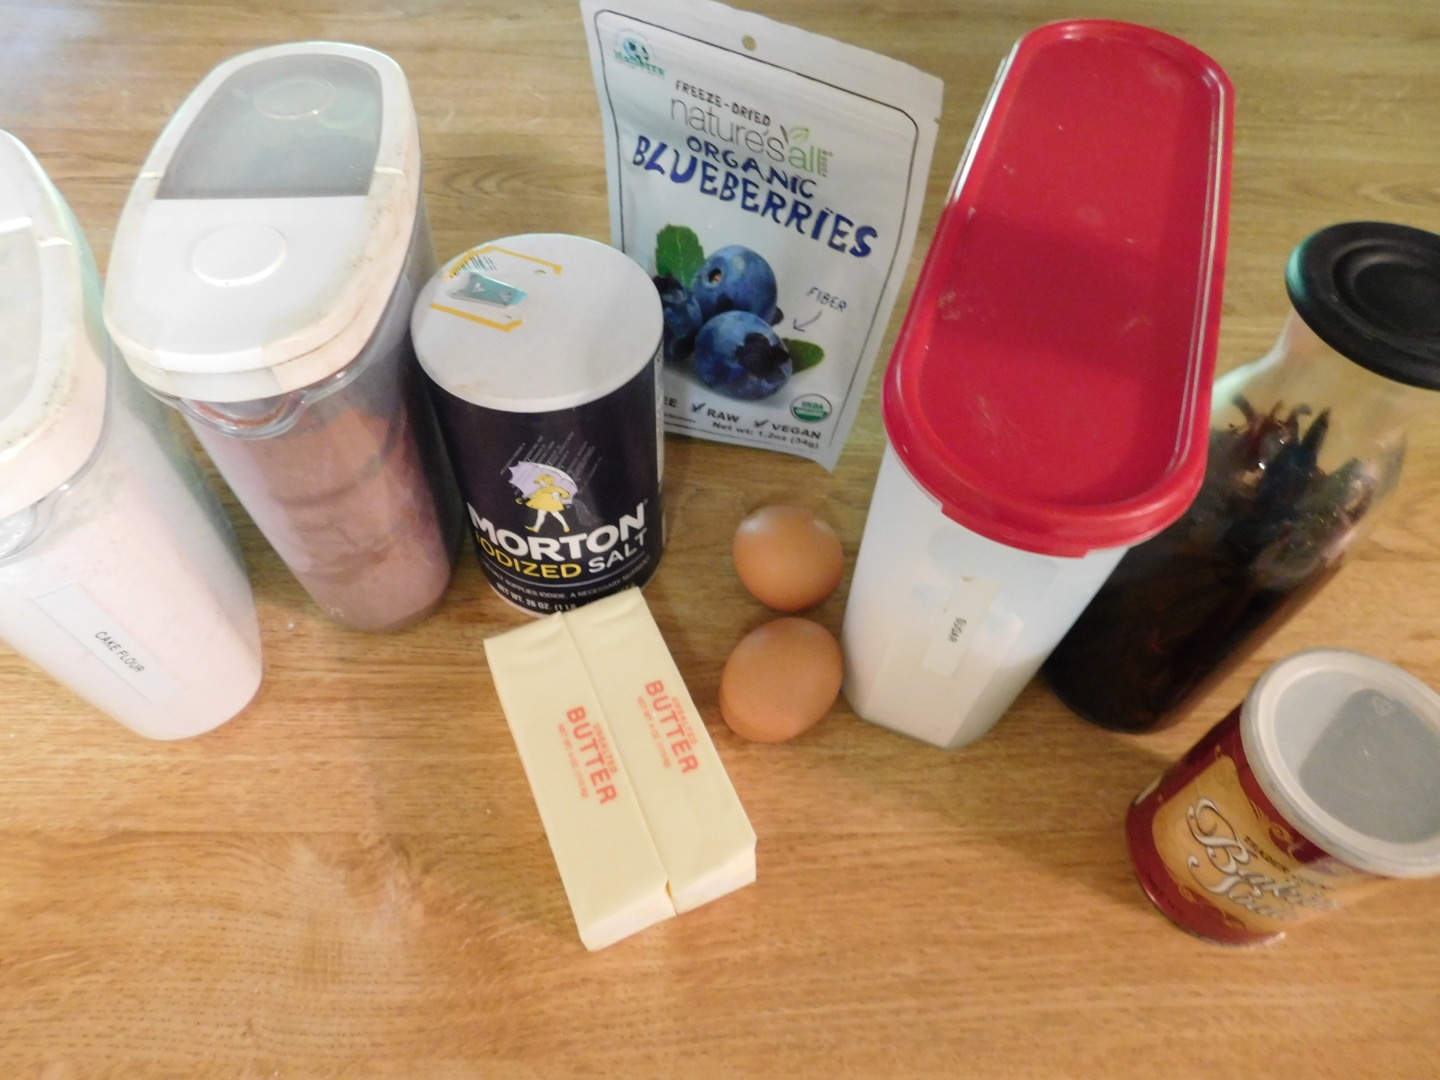
For the cake
- 12 tablespoons (1 1/2 sticks) unsalted butter, room temperature
- 1 3/4 cups sugar
- 2 eggs
- 1 teaspoon vanilla
- 2 1/4 cups cake flour (all-purpose flour will make the cake tough)
- 1/2 cocoa powder
- 1 1/4 teaspoons baking soda
- 3/4 teaspoon salt
- 1 1/4 cups ice water
For the frostings
- 5 large egg whites
- 1 cup sugar
- Pinch of salt
- 32 tablespoons (4 sticks) unsalted butter, room temperature
- 1 1/2 teaspoons vanilla
- 1 ounce freeze-dried blueberries (must be freeze-dried and not just dried), ground in a food processor or blender until powdered, and sieved to remove seeds
- 3 tablespoons cocoa powder or to your liking
For the horns & decorations
- 5 ounces purple candy coating wafers/candy melts, or 5 ounces white candy coating & a few drops of oil-based purple candy color (food coloring will make the coating seize and clump) or purple gel color (it will stiffen the coating a bit but you can thin it with oil)
- Coconut oil or vegetable shortening on hand in case you need a teaspoon or so to thin the coating
- Mini chocolate chips, regular chips, hazelnuts, etc. to decorate the outside of the cake layers
Make the cakes
Preheat oven to 350 degrees Farenheit. Grease and flour your cake pans, putting parchment paper circles into the bottom of the pans to prevent sticking, and have 2 cupcake liners ready.
In a standing mixer or using a hand mixer, cream the butter until fluffy. Mix in the sugar, then the eggs one at a time, then mix in the vanilla. Be sure the scrape the sides of the bowl down as needed.
In another bowl, sift the flour, cocoa, baking soda and salt together.
Add 1/3 of the flour mixture to the butter mixture, then 1/3 of the ice water, repeating and mixing after each addition. Transfer the batter to the cake pans, smoothing the tops, and enough to the 2 cupcake liners to fill them halfway. Put the cake pans on the middle oven rack and slide the muffin tray with the 2 cupcakes in it on the rack just below. Bake until the cakes spring back when lightly pressed, and a skewer inserted in the middle comes out clean; 35-40 minutes. The cupcakes will survive but are better if you remember to take them out after 25 minutes.
Let the cakes cool in the pans for 10 minutes after removing from the oven, then gently run a knife around the edges and turn the cakes onto a cooling rack. Peel the parchment paper off carefully and turn the cakes right side up to cool if you can, so they keep their shape a little better. The cupcakes can stay in their liners. Once cool, chilling the cakes in the fridge will make cutting them easier; leave the cupcakes at room temperature. Trim the bottom cake layer nice and flat on top and bottom; the top layer can stay slightly rounded. Put any cake trimmings with the cupcakes.
Make the frostings
Set a saucepan with an inch or so of water on the stove and bring to a gentle simmer. Combine egg whites, sugar, and salt in a heatproof bowl over the saucepan, whisking until the sugar is dissolved (dip your finger in at the edge and see if it feels grainy).
Remove the bowl from the heat and whisk it with a standing mixer’s whisk attachment or a hand mixer until it’s glossy white, increased in volume, and completely cooled (the bottom of the bowl will be room temperature when it’s cooled enough); about 10 minutes.
Mix in the softened butter one tablespoon at a time until it’s all mixed in; if it starts to look lumpy just keep mixing and it will smooth out. Mix in the vanilla.
Divide the frosting into 2 bowls, about half in each. Add the 3 tablespoons of cocoa powder to one (this gives a subtle chocolate flavor and soft color, feel free to add more) and mix well.
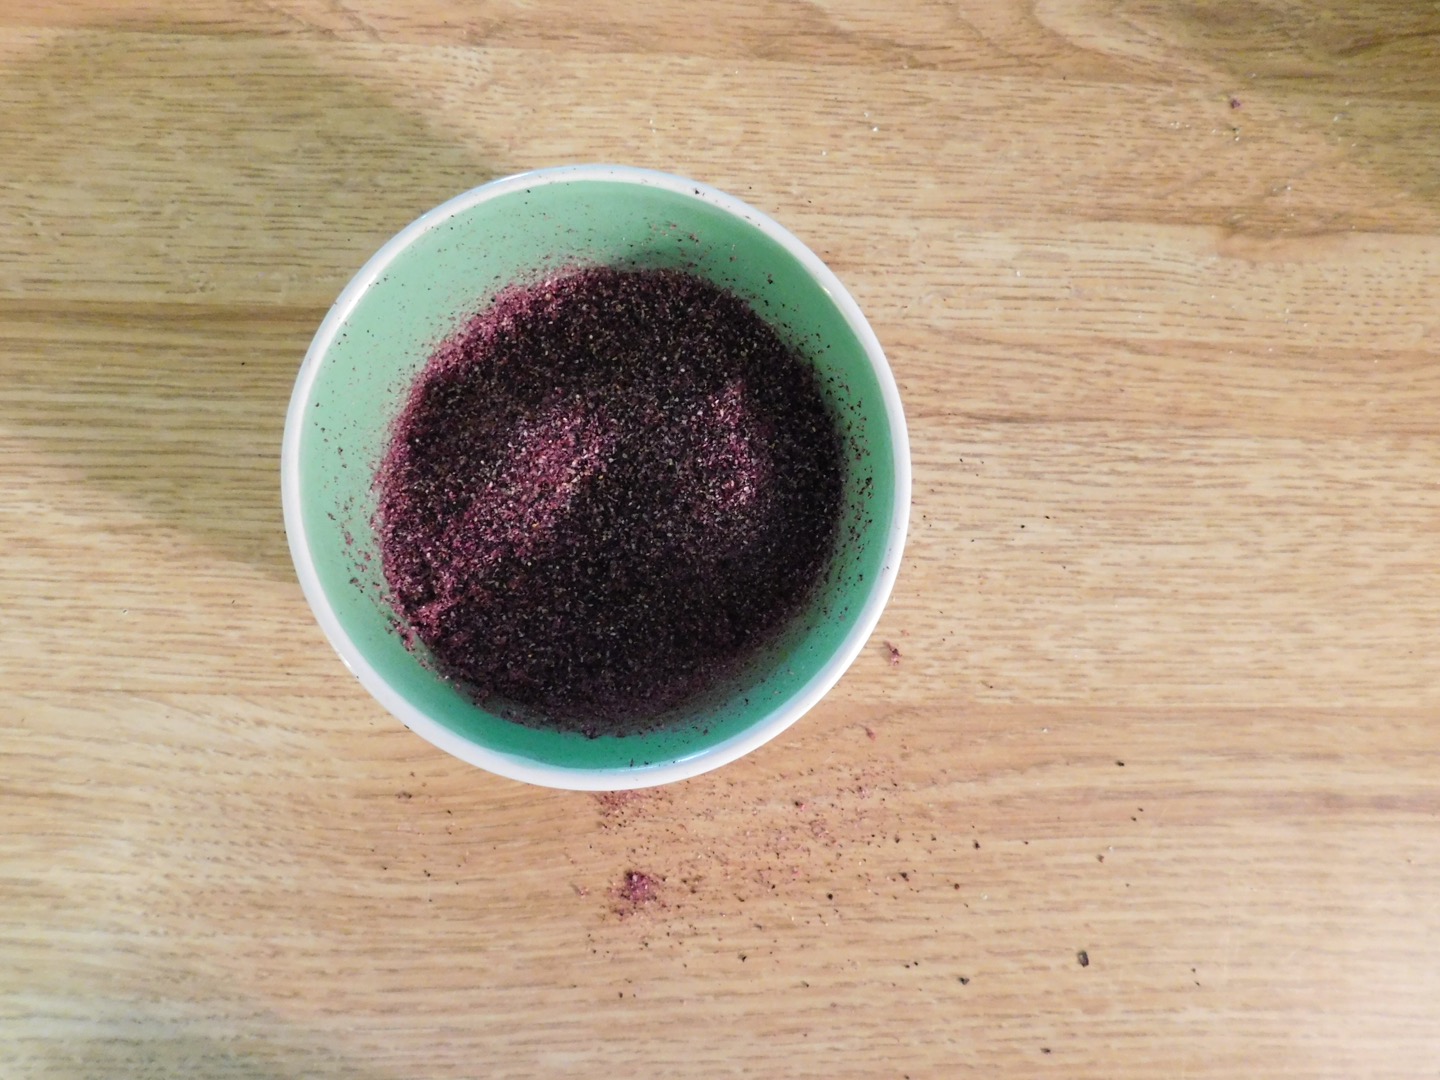
To the other bowl, add your monster extract (blueberry powder) and mix well. This will naturally give it a pale speckled lavender color, but you can add purple food coloring if you want a brighter color. Remember to add just 2 or 3 drops at a time; food coloring builds in intensity very quickly: You can always add more, but you can’t take it away! If you’d prefer it without the blueberry flavor, you can just add color to the plain frosting to have a purple vanilla.
It’s easier to work with the 2 frosting flavors in piping bags, but the look of the Monster Cake is casual enough to do it with a small round knife or spoon. I used piping bags with large round piping tips.
Make the horns
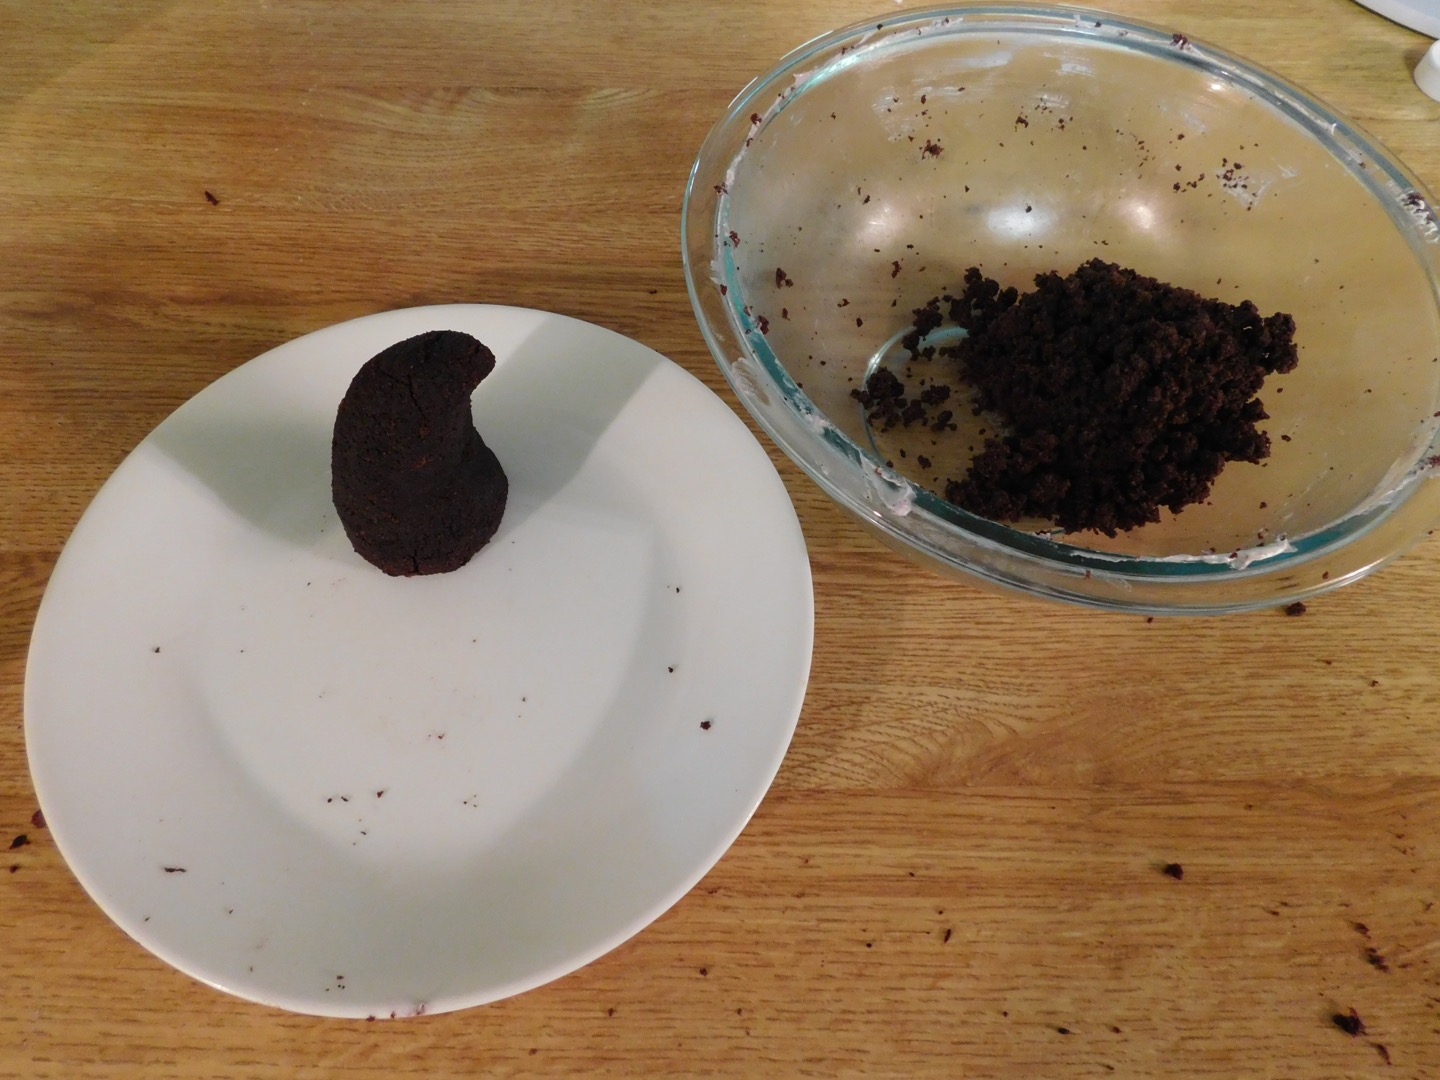
Crumble the 2 cupcakes and trimmings gently into a bowl so there aren’t any cake chunks left. Add the chocolate frosting, just one tablespoon at the time, until you get a sort of “dough” that just barely holds together. It’s tempting to add more, but then it’s very hard for the horns to keep their shape. I only used 3 tablespoons of frosting for mine, the mixture clumped together when I pressed it but was still slightly crumbly.
Divide your mixture in half and shape each half into a horn! Go slowly and squeeze very lightly, press any cracks back together and try to make them roughly flat on the bottom. Put them on a plate in the freezer for 15 minutes or so.
Melt your candy coating in a small bowl in the microwave, or (if your bowl is heatproof) over a saucepan of an inch of water on medium heat, being careful not to get water into the bowl. If your coating is white, now’s the time to add the candy color or gel color, one drop at a time until you get a color you like. The coating should be smooth and not too thick, like hot fudge. If it seems thicker, add half a teaspoon of shortening or coconut oil and see if it thins out. Add more if needed, but remember too much oil will make the coating softer at room temperature.
Remove the horns from the freezer and dip a toothpick or lollipop stick into the warm coating, then insert the dipped end into the bottom of the horn. Let it set for a few seconds, then hold the horn by the stick over the bowl and spoon the coating over it until it’s covered (I left the bottom edges plain on mine because you won’t see them). If one coat doesn’t cover all the lumps and bumps, let it set firmly, put them back in the freezer for 5 minutes, then give them a second coat. Make sure they dry fully (you can put a cooling rack up on drinking glasses and rest the horn on the rack with the stick poking through the bottom) and then put them in the fridge.
Assemble the cake
Put the bottom layer on your serving plate and top it with the purple frosting. You can make swirly edges by piping with a round tip in a ruffly circle, then filling in the center as I did, or spreading it on in a scalloped way with a spoon/butter knife. Try to make it as level as possible. Add the top cake layer and press it in place gently.
At this point you can keep going or put the cake back in the fridge for half an hour or so, this is just to firm up the purple frosting so you don’t accidentally squish it. When you’re ready, add the chocolate frosting to the top. I piped very large round dots and pressed a knife into the top of each one, dragging towards the center of the cake to approximate the scalloped look. Then I filled in the center between the dots, and added a second smaller circle. I finished it by swirling the last of the frosting over the messy lines in the center.
The cake in the game has little round dots on the edges of the cake layers, maybe to show nuts or seeds in the layers, but it would be almost impossible to get those things to bake in exactly the spots you wanted them. I did mine after they were baked and cooled with mini chocolate chips, pressing them pointed side in all along the sides in rough groups of three. These stayed on by themselves but if you’re using something bigger you might want to add a dab of frosting or candy coating to the back as glue.
Spear the horns into the cake by their sticks, and you’re done!
Notes
I made the Monster Cake this way because this is one of my favorite chocolate cakes, one of my favorite buttercreams, and I wanted the decorations to be things I like too (cake pops instead of fondant, for instance). Make a cake you enjoy making and eating, and if that’s one made with mixes and just assembled with a few of my suggestions, that’s great. There’s no such thing as a “real” recipe for this, so be creative!
If you wanted something easier for the horns, I think dipped banana halves would work, or shaped Rice Krispie treats, modeling chocolate, fondant, or make them from food-safe craft supplies and just remove them when serving.
About 18 servings, if 2 of the servings are the horn pops — there’s plenty of frosting here though so you might get more servings out of it. It will make a little more than 2 dozen cupcakes; with cupcakes you can use purple liners and make all the frosting chocolate, or peel off the liners, split them in half horizontally and put a layer of purple frosting in the middle if you want them to look like mini versions of the game cake. I made little flat horns for mine by drizzling candy coating in rough triangles onto wax paper, freezing them, and sticking them into the frosting.
🎂
“Sham Harga had run a successful eatery for many years by always smiling, never extending credit, and realizing that most of his customers wanted meals properly balanced between the four food groups: sugar, starch, grease, and burnt crunchy bits.”
― Terry Pratchett, Men at Arms
One response to “Burnt Crunchy Bits – The Legend of Zelda: Breath of the Wild’s Monster Cake”
Stop this is too cute stop T_T